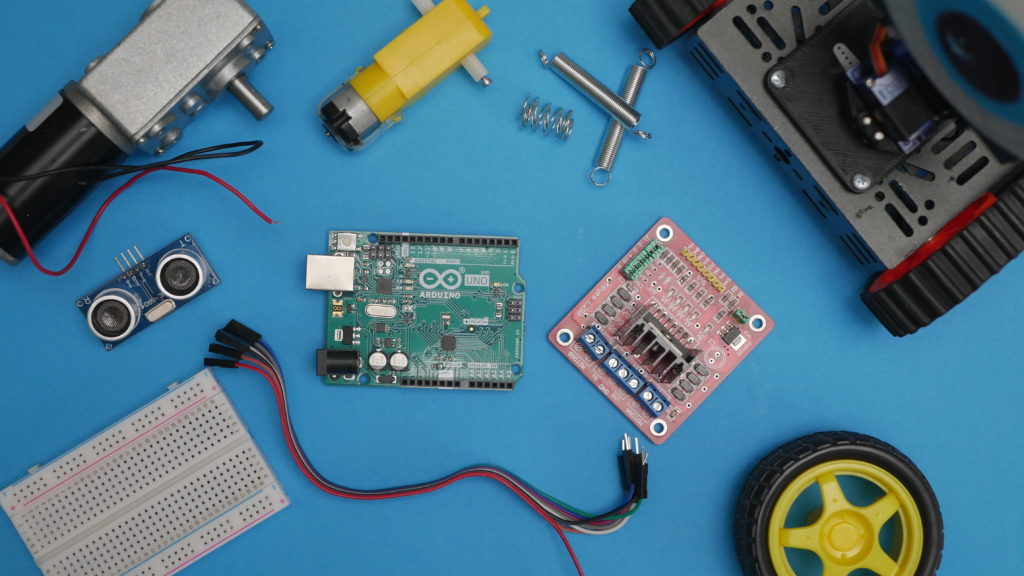
How to build a robot?
Robots are cool, I think we all agree on that. Right here I would like to give you a short […]
How to build a robot? Read Post »
Robots are cool, I think we all agree on that. Right here I would like to give you a short […]
How to build a robot? Read Post »
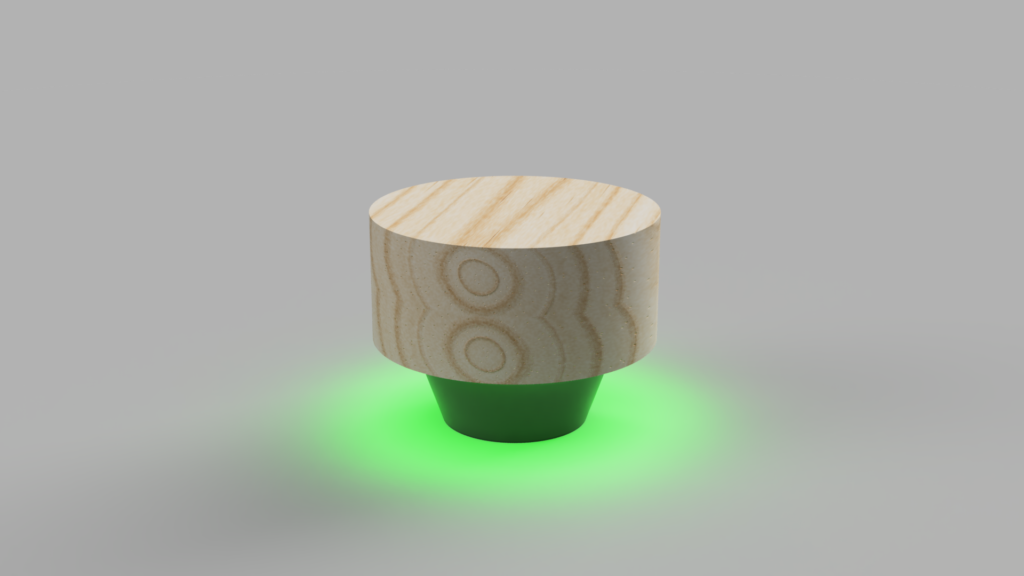
The air quality is a pretty big problem in my city. We have a monitoring station but it’s quite far
Arduino Based Air Quality Monitor Read Post »
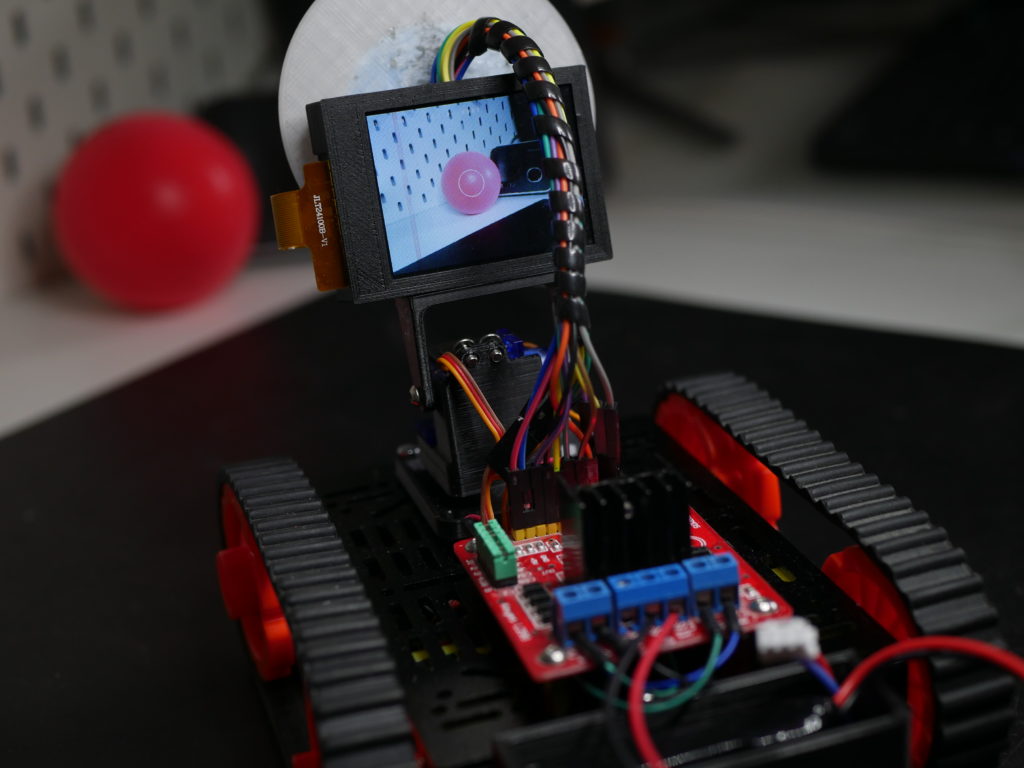
This is a second version of original FollowBot made in 2015. This one uses Maix Sipeed board with a camera
Object Tracking Robot – FollowBot V2 Read Post »
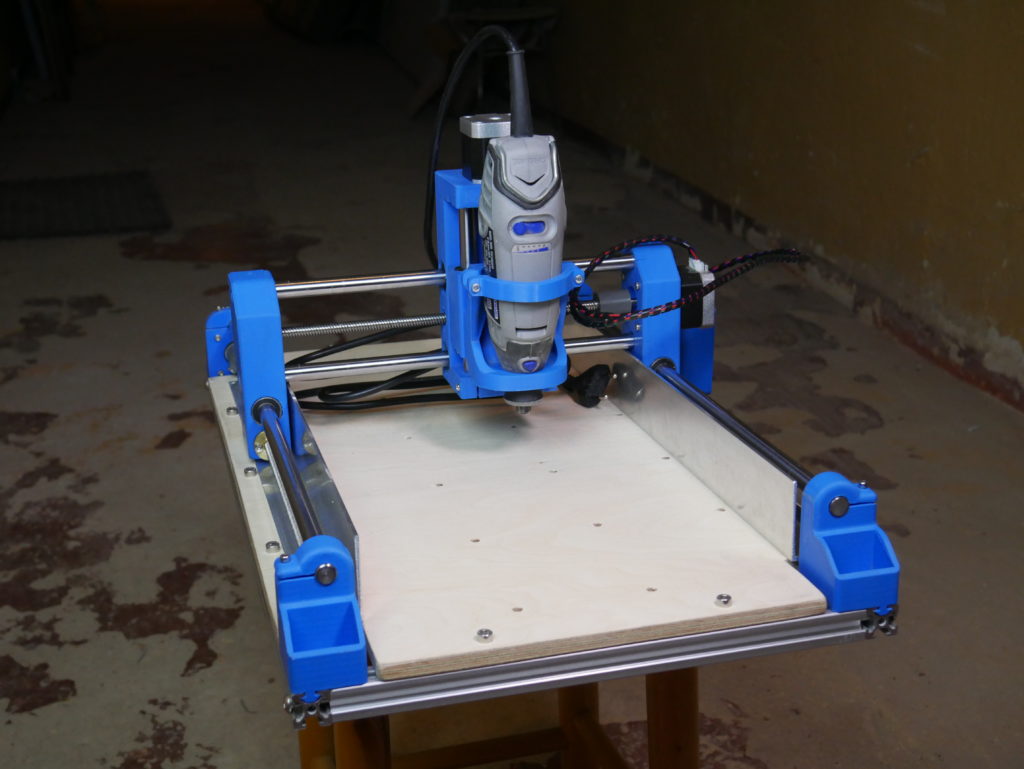
Dremel CNC – an easy-to-build low-cost 3D printed CNC machine that you can make on your own! It costs around
How to build 3D printed Dremel CNC? Read Post »