The first video (the one above) was quite successful and the feedback was very positive so I made another one where I cloned the robot and made them race! It’s cool and there were plenty of interesting problems that I had to solve to get it working (spoiler: in the end, it worked). Here it is:
Currently, I am doing my master’s in data science. The learning process at the university is definitely not the most interesting one, but I do enjoy new information about topics I never heard about like machine learning, data processing, classification, and so on. To put this new knowledge to the test and understand it even more (theory and boring classes will take you only so far) I decided to build my own Arduino-based robot with a LIDAR and try to train it to autonomously navigate on a race track build out of cardboard 🙂
The video linked above goes through the whole process and explains it very well but here you can find some supplementary information, code, and my data collected for training.
Before we start I would like to say thank you for reading about my projects and watching my videos! I really appreciate it as working on these projects is not easy, and takes a lot of time and money. If you would like to support my work you can do that through my merch, Patreon or Store. Thanks a lot!
-
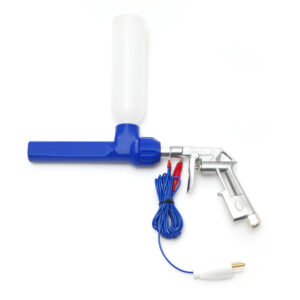 Powder Coating Gun$109,00
 -
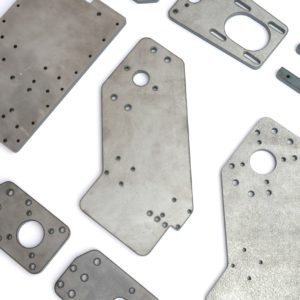 IndyMill Bare Steel Plates Kit$129,00
 -
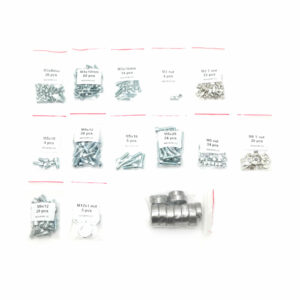 IndyMill Screws & Bearings$59,00
Robot
The robot was built according to ORP design rules, You can read more about the project here:
https://openroboticplatform.com/
ORP parts used to build the chassis:
| Name | Link |
| 160mm circular plate | https://openroboticplatform.com/part:3 |
| 160mm circular plate with wheel cutouts | https://openroboticplatform.com/part:4 |
| RPLIDAR holder | https://openroboticplatform.com/part:48 |
| Cheap yellow (TT) motor holder | https://openroboticplatform.com/part:6 |
| 170 point breadboard holder | https://openroboticplatform.com/part:36 |
| SD card module holder | https://openroboticplatform.com/part:37 |
| L9110S motor driver holder | https://openroboticplatform.com/part:38 |
That made building the robot much easier and let me reuse parts from this robot in my future projects. Parts I used are rather popular and inexpensive but also can be replaced by something you have at hand. I am positively surprised by the cheap yellow motors I used in this project. I remember facing some problems with these in my previous projects but here the experience was really smooth. Below you can find a list of all the parts used to build the robot. I used a different lidar but it’s not available anymore.
| Name | Link |
| Arduino Uno R4 | https://amzn.to/44OeeIA |
| SD card module | https://amzn.to/3Pw6feS |
| Bluetooth module | https://amzn.to/3sOiSZV |
| Motor driver | https://amzn.to/3sUmo4U |
| Breadboard | https://amzn.to/3Rh1sPZ |
| LIDAR | https://amzn.to/45Laj0F |
Data collection:
Collecting the data was an easy step as I prepared everything earlier. With an app on my Android phone, I was able to easily send the control orders to the robot. Arduino was reading that through the serial port and driving accordingly. To simplify there are only 3 states allowed: forward, forward left, and forward right. While controlling the robot you are also allowed to stop and go back but during these maneuvers, the data is not saved on the SD card. Data is saved 5 times a second on the SD card – 240 measurements from the LIDAR and at the end there is a letter F, G or I that is the control label. Then I spent about 30 minutes on driving the robot around to collect enough data, pretty fun thing to do 🙂
All the data that was collected during this project can be found on GitHub in case you want to play around and train your own classifiers.
Feature selection:
The first step is to select the most important features present in our dataset. There are 240 points but we don’t need all of them to properly drive around, most of that data is just noise (for example all the points that are behind the robot, we don’t need them). That’s why we are going to select only the features that are the most correlated with our labels. It sounds super hard but there are ready Python functions for that inside scikit learn library.
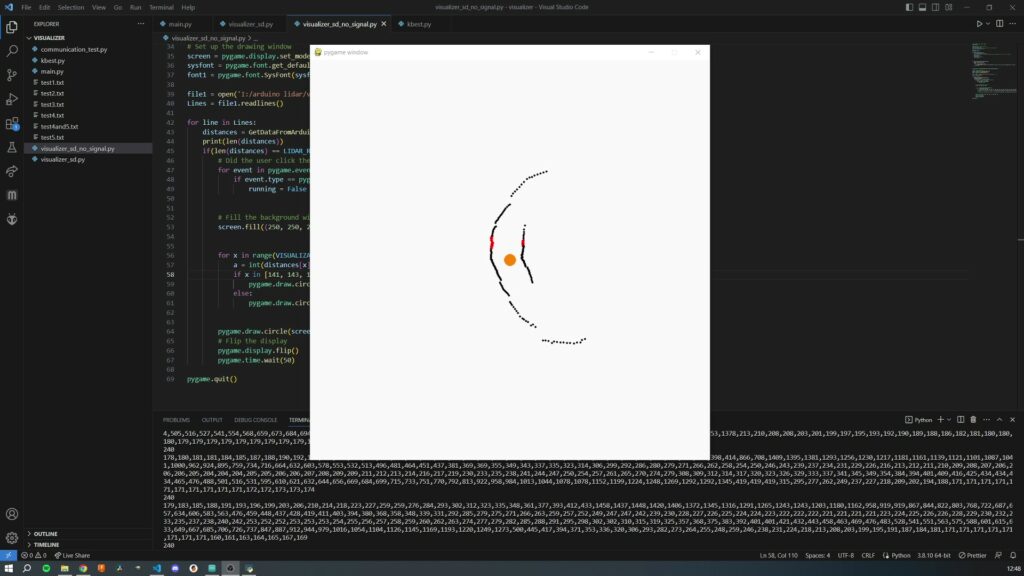
I also modified a visualization program I created a while ago to display the data from the SD card and highlight the selected features. That way it’s super easy to visualize what exactly was selected and it really makes sense as only the points in front of the robot on the left and right were selected.
Training the classifier
When the features are selected it’s time to choose and train the classifier. I will keep it short as I am not yet that comfortable with explaining how it all works and why random forest worked the best in my case but it did and that is what I used in the end. I tried a few different classifiers but random forest performed a little bit better than the others. Training the classifier is also super easy thanks to libraries and it is not time-consuming at all, it literally takes a few seconds to do that.
Here is the code for the selection, training, and testing of the classifier.
import numpy as np
import pandas as pd
from sklearn.feature_selection import SelectKBest
from sklearn.feature_selection import f_classif
from sklearn.model_selection import train_test_split
from sklearn.preprocessing import LabelEncoder
import matplotlib.pyplot as plt
from sklearn.ensemble import RandomForestClassifier
from sklearn.metrics import accuracy_score, classification_report
from micromlgen import port

def letters_to_colors(letters):
    color_mapping = {
        'F': 'blue',
        'G': 'cyan',
        'I': 'magenta'
    }

    return [color_mapping.get(letter, 'black') for letter in letters]

data = pd.read_csv('I:/arduino lidar/visualizer/test4567.txt', header=None)
data.rename(columns={data.columns[-1]: 'Label'}, inplace=True)
data = data[(data['Label'] != 'L') & (data['Label'] != 'R') & (data['Label'] != 'H')]
data.reset_index(drop=True, inplace=True)
X = data.iloc[:, :-1]
y = data.iloc[:, -1]

label_encoder = LabelEncoder()
y = label_encoder.fit_transform(y)

X_train, X_test, y_train, y_test = train_test_split(X, y, test_size=0.2, random_state=42)

k = 15
k_best = SelectKBest(score_func=f_classif, k=k)
k_best.fit(X_train, y_train)

selected_feature_indices = k_best.get_support(indices=True)
print("selected_feature_indices: ", selected_feature_indices)

plt.scatter(data.iloc[:, selected_feature_indices[0]], data.iloc[:, selected_feature_indices[9]], c = letters_to_colors(data.iloc[:, -1]), s=8)
plt.show()

clf = RandomForestClassifier(max_depth=3, random_state=42)
clf.fit(X_train.iloc[:, selected_feature_indices], y_train)

y_pred = clf.predict(X_test.iloc[:, selected_feature_indices])

accuracy = accuracy_score(y_test, y_pred)
print(f'Accuracy: {accuracy}')

class_names = label_encoder.classes_
report = classification_report(y_test, y_pred, target_names=class_names, zero_division=0)
print('Classification Report:\n', report)

arduino_code = open("arduino_random_forest3.c", mode="w+")
arduino_code.write(port(clf))
Running the machine learning classifier on the Arduino
Here is a very good and simple tutorial on how to convert the classifier from python to Arduino and most importantly it just works as you expect it to!
https://eloquentarduino.github.io/2019/11/how-to-train-a-classifier-in-scikit-learn/
After uploading the code to the Arduino for the very first time I wasn’t sure what to expect but it just started working exactly as I wanted it to! So running the machine learning on the Arduino (at least the new Arduino board like Uno R4 with a more powerful microcontroller or MKR series) is not a problem.
RACING!!!
So the second video was focused on making both robots race. I wanted to teach them to avoid each other. To simplify the problem one of them was meant to drive slowly and the other fast with the aim to catch up with the first one every few laps and attempt to overtake without crashing or destroying the race track. It might sound simple but it’s not and some basic data science principles can be observed with the development of this project. In case of any questions please let me know I will extend this article!