This will be a brief introduction to DIY powder coating. I would like to present you all the tools you will need and a step-by-step process of how I do it.
I got interested in powder coating and doing it on my own because most companies didn’t match my quality standards when it came to painting the steel plates for my CNC machine IndyMill. After a quick research, the idea of doing it on my own was born. I bought a cheap powder coating gun and used an old oven I used to have in my kitchen and achieved very decent results. Having full control over the painting process and handling the plates resulted in a higher quality of the painting job.
Why is powder coating better than conventional painting? It’s not as messy, toxic, or time-consuming and in the end results in a more robust surface finish. To powder coat you use a dry powder, it’s easy to clean, and even after applying it stays dry and doesn’t adhere to any surfaces (it needs to be heated to form a solid bond with the part). Because there are no solvents in the powder it’s way less toxic (but still safety is very important, wearing a proper mask, the powder is composed of super tiny particles that you really don’t want to breathe in, more about safety down below). Why is it quicker? Because you don’t need to wait for the paint to dry. 10-20 minutes in the oven and after cooling down the part is ready, no need to wait multiple hours until the paint is fully dry. Powder coating is usually more robust and harder than standard paints. As you can see it has many advantages but still is easy enough to do it in your own garage.
What you will need?
Powder coating may sound like you need a lot of expensive tools but don’t worry it’s not that bad. Here is a list of parts that are needed to start your powder coating journey:
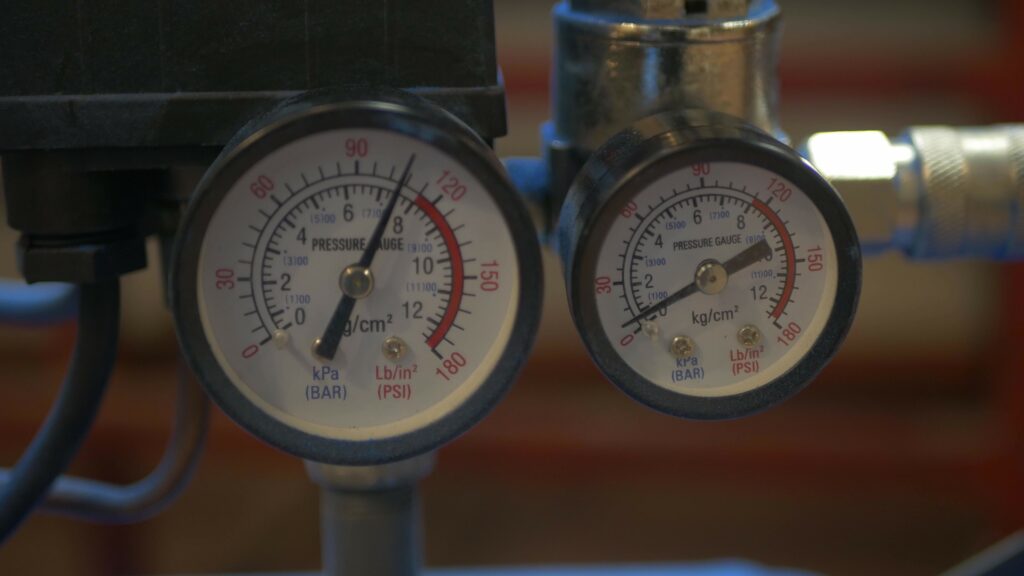
- Air compressor
The compressor I use is very old and still works fine. Perfectly you would use an oilless compressor for that but even with an oil one, it’s possible to powder coat with decent results. The bigger it is the better as it doesn’t need to turn on so often.
- Oven
Do not use your oven at home! That is the most important part. You don’t want to cook food and powder coat paint in the same place. Buy an old oven or use the old one that is not in your kitchen anymore (that’s what I did). You can even buy something small like this one. And it will work fine for small parts.
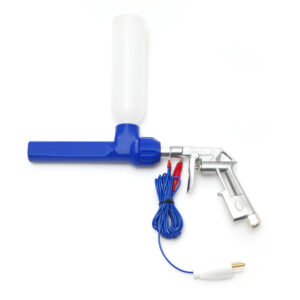
- Powder coating gun
There are plenty of expansive solutions for industry and just a few in the budget-friendly range. I found one that was very inexpensive and interestingly it is 3D printed. Because it has been working for me so well I ordered some more and now you can buy it in my store:
-
 Powder Coating Gun$109,00
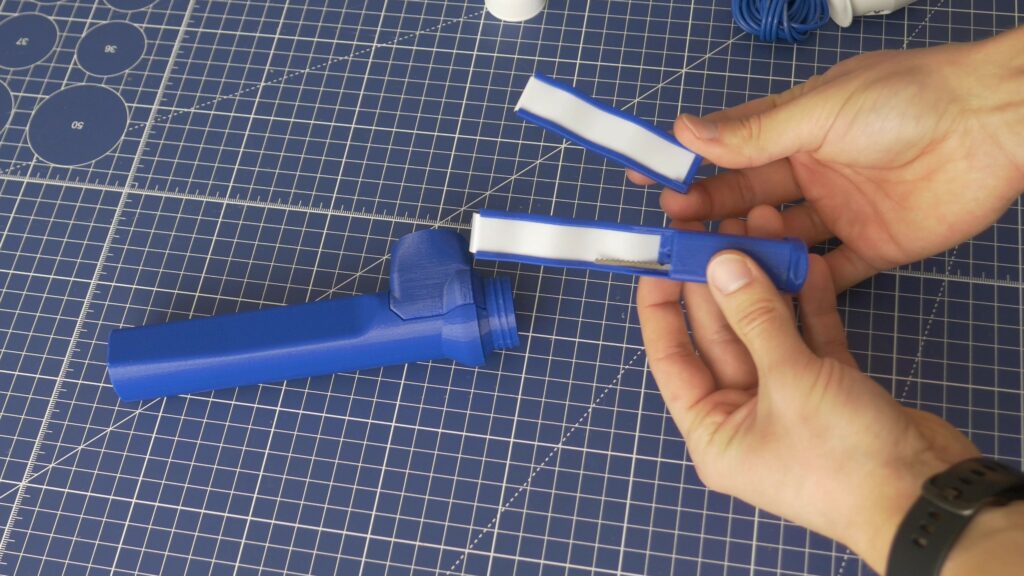
There are also additional empty containers available which are very useful if you want to paint multiple colors. I have been using the very same powder coating gun since I started to do it and it still works well, I have never faced a single problem, it’s easy to clean and also very durable. There are two different versions with US and EU plug. It’s a tribo-type powder coating gun so it needs to be grounded that’s why the plug has plastic pins.
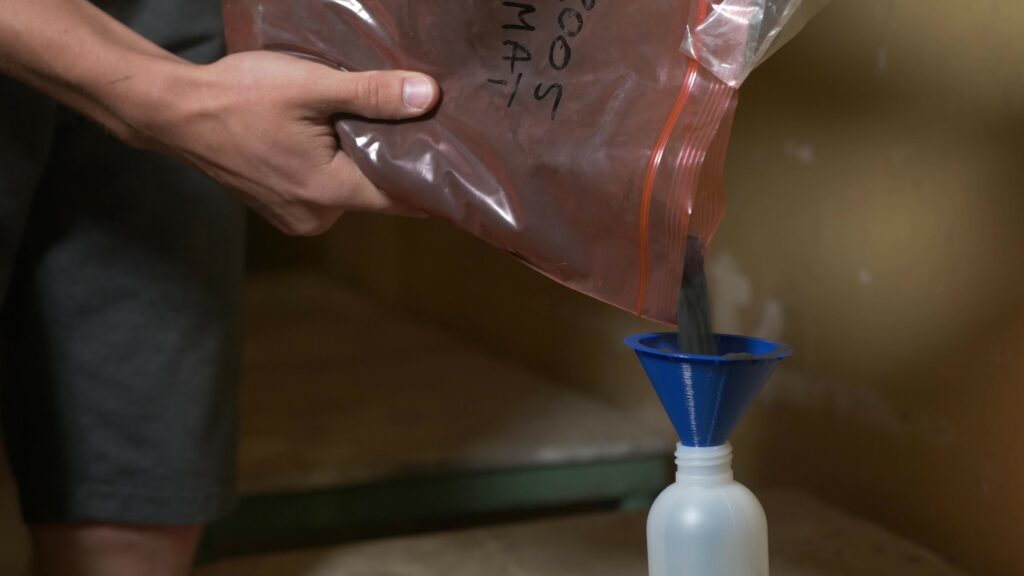
- Powder paint
It’s surprisingly inexpensive and there are all the possible colors from RAL available. Make sure that the powder paint works with the type of powder coating gun you have (tribo or corona). Usually, this paint works with any type of system but sometimes it is meant for only one of these. You can even find some powder paint on Amazon but I recommend finding something locally as it is way less expensive.
- Hooks
I do recommend buying some solid steel hooks as it makes sit much easier to work with then DIY some hooks out of crappy materials on your own. These are so inexpensive and you can find many different versions that it’s just not worth it to make them on your own. For example, here you can find some.
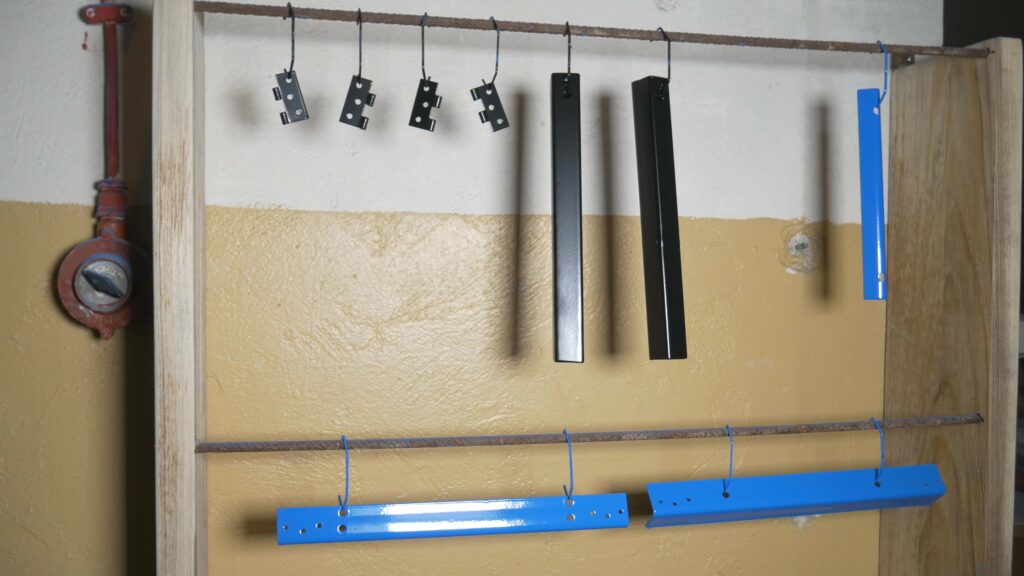
- Powder coating booth
While there are some options to buy a small booth for painting there is nothing cheap and small meant for powder coating. I built it on my own and it worked great. I am showing the build process in the video and below you can download the blueprints used for the build with all the dimensions for free to download.
Safety
Powder paint is composed of very tiny particles, particles that you definitely don’t want to inhale or get in your eyes this stuff is dangerous. When you powder coat even with really good filters, fans, and ventilation system there will always be a lot of particles flying around. That’s why you should always wear a proper respirator and eye protection. Also doing it without any fans and filters is not a good idea as these tiny particles if not filtered out of the air will fall and cover everything around your workshop. Having a separate room for that is a very good option. The respirator is something you should have in your workshop anyway, whenever you are cutting wood or steel it all results in tiny particles flying around you and getting into your lungs. If you are a maker and you like to make stuff take care of your health and safety so that you will be able to make more stuff in your life.
The mask I am using from 3M is very high quality and in my opinion, it’s a must-have in any workshop. Filters last 6 months, it’s very comfortable and will protect you not only while powder coating but also while cutting wood, etc. Considering the quality of it it’s surprisingly inexpensive.
Don’t be afraid and make it stop you from trying powder coating, it’s not as scary as it may sound. In fact, it is less toxic than normal spray painting. Just remember about a good mask and proper filtering.
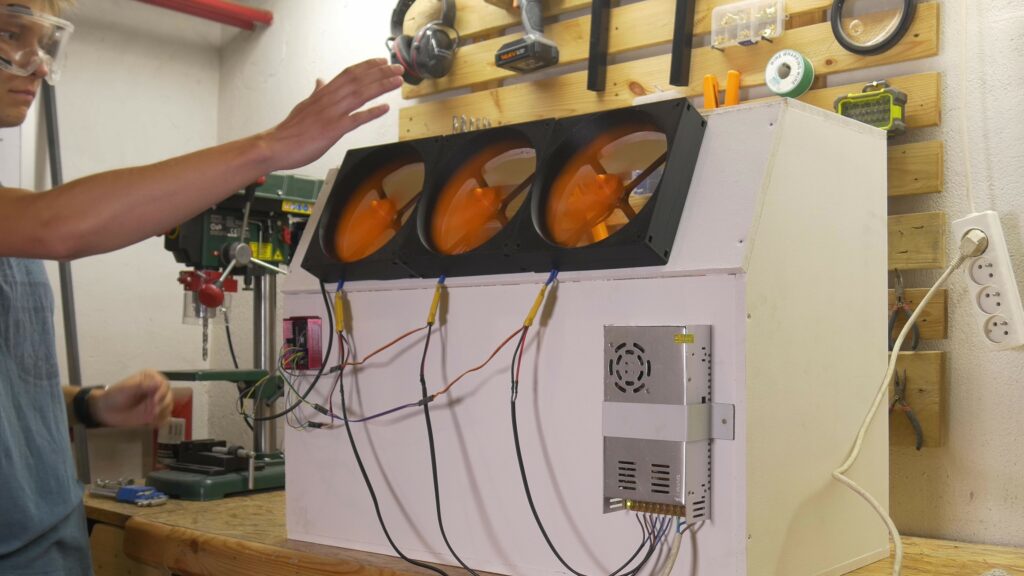
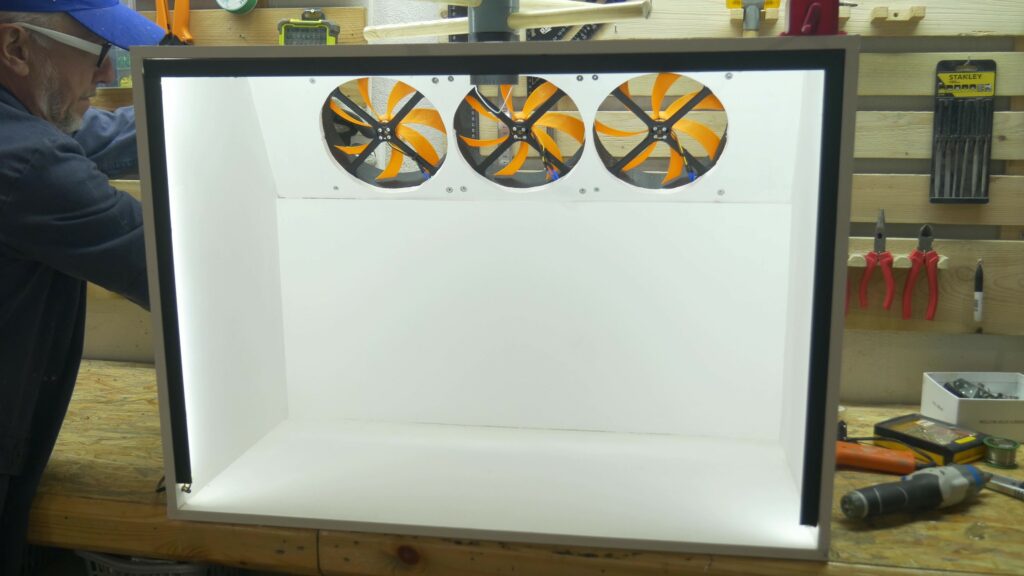
DIY Powder coating booth

The booth was designed in Fusion360 and made mostly by hand out of MDF. I highly recommend building the booth out of plywood, MDF is really not the best choice.
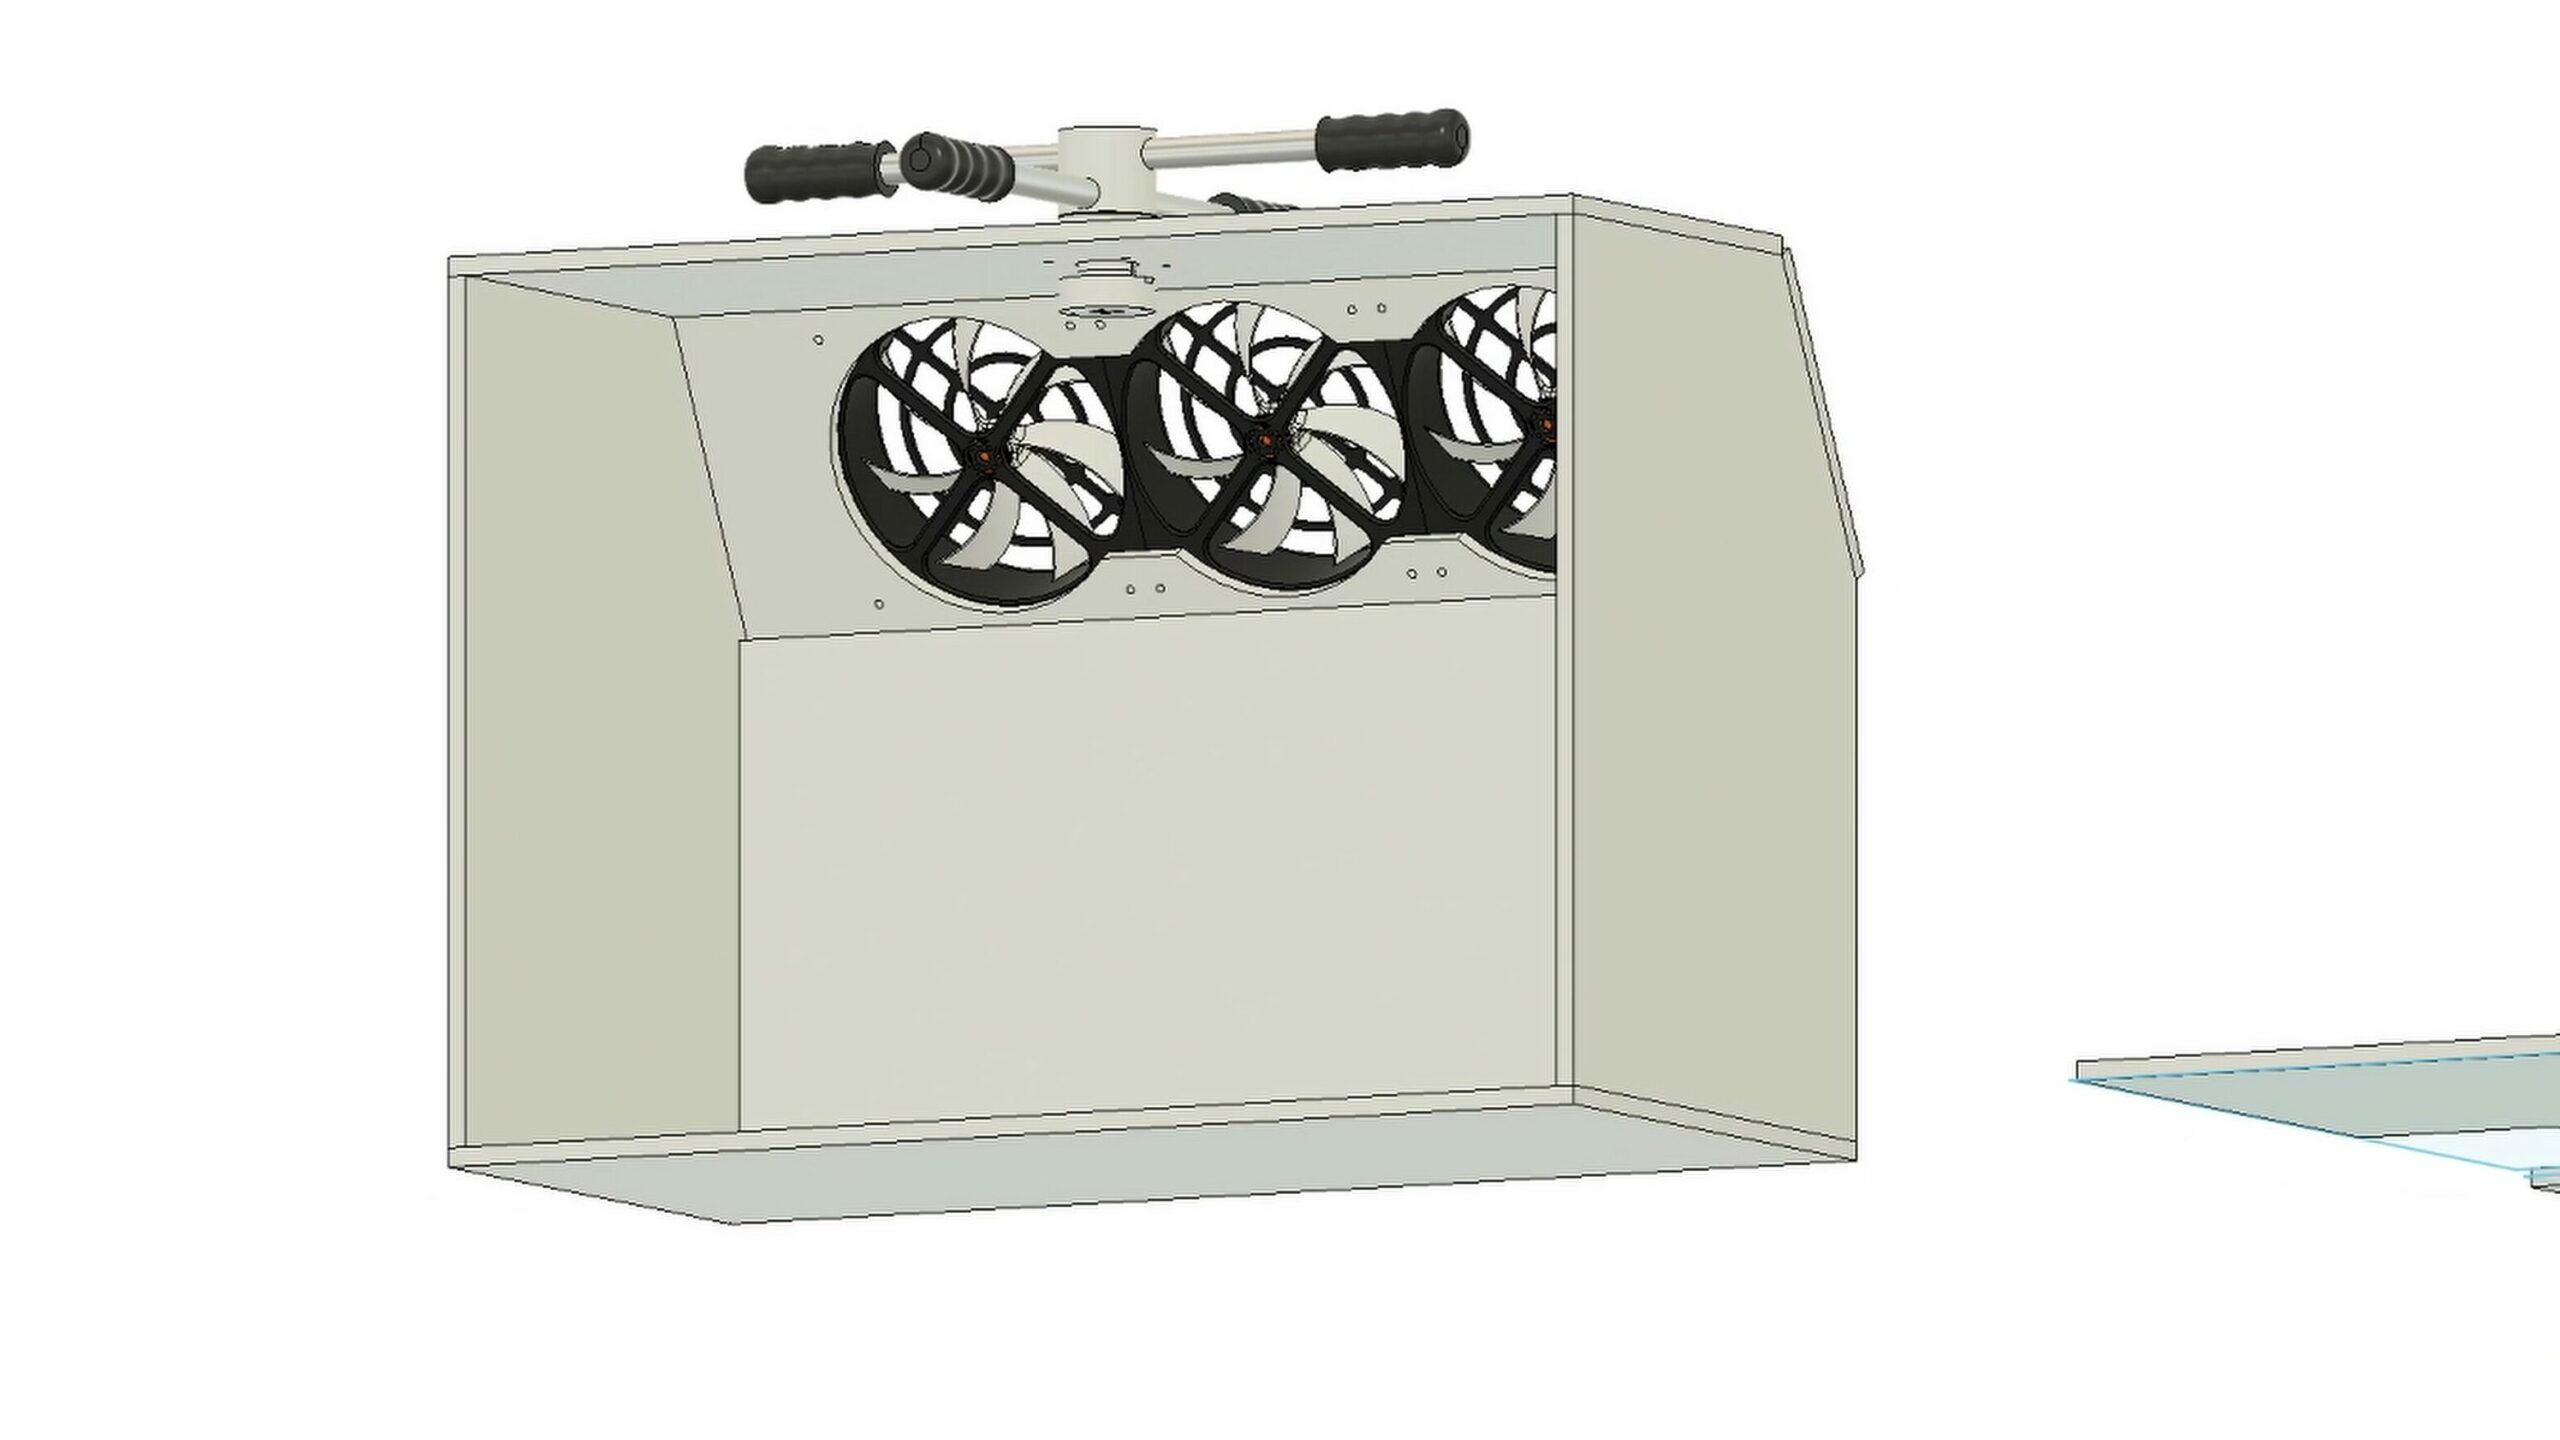
There are three in my opinion super important parts of any powder coating booth.
- Filtering system
- Light
- Rotating system
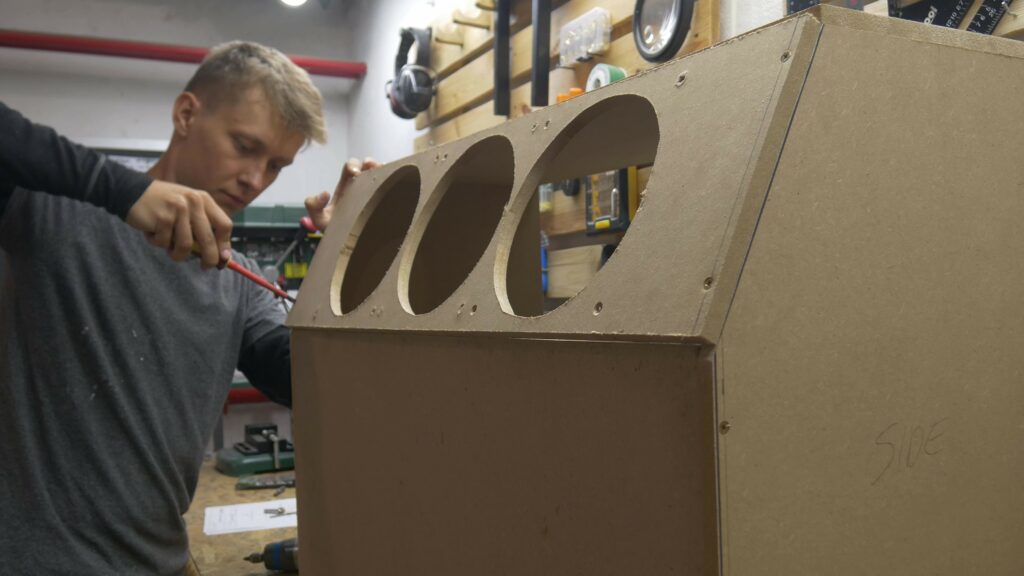
To build the filtering system I designed my own box fan that was 3d printed and used cheap BLDC motors. Unfortunately in Europe, box fans are not popular and in Poland, it’s impossible to buy a box fan. So making these on my own was the only choice for me. If you have access to box fans just buy something inexpensive.
You can use cheap LED strips to make very good light for your booth. I used the waterproof version of the LED strips but I don’t think it is necessary. With a simple plastic bracket bought in a hardware store, these were attached to the booth.
Rotating system was simply 3D printed. Additional big bearing and some wooden sticks resulted in a perfect little carousel for painting the parts and rotating them around. The bearing was used not only to rotate the part but also for grounding the part while painting.
Here you can download the blueprints for the booth:
You can see the full build process of the booth in the video linked at the beginning of this article.
At the end, I would to show you my old booth which was a 2-hour build out of pallet wood. It worked well for over a year! Warning, it’s ugly 🙂
Painting from start to finish
A step-by-step process of powder coating:
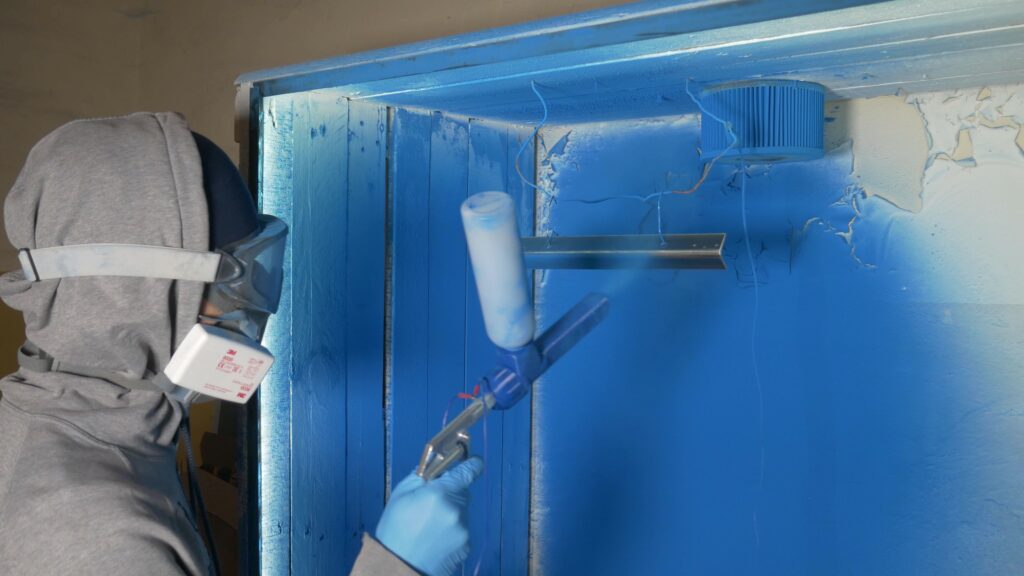
- Cleaning the parts
I usually sand all the parts with a vibrating sander and then clean them with a paper towel. This works well for powder coating in my case. If you want, you can also use some chemicals to clean the parts and remove any oil or stuff on them. I mostly paint newly laser-cut steel or smooth aluminum parts, so I don’t have to do much. But if you’re painting old parts, you might need to spend more time cleaning and getting them ready for painting. - Preheating (optional):
It’s not a must, but sometimes I like to heat up my parts in the oven before painting. This makes the paint stick better, and I can finish painting faster. It’s a handy trick, especially if you have a bunch of parts to paint – saves a good amount of time. It could also be useful for tricky-to-paint parts. I haven’t tested it with nonconductive parts, but who knows, it might work for them too! - Powder coating
Set the air compressor pressure low, just a bit over 1 bar is good. Pour the powder paint into the container and begin gently applying a thin layer on the part. Aim for an even coat to get a smooth surface without any bumps or gaps. Make sure the entire part is covered in the color powder you’ve chosen; you shouldn’t see the part’s surface at the end. I usually start with the edges and holes, saving the larger areas for last.
A great thing about powder coating (if you didn’t heat your part) is that if something goes wrong, you can blow off the powder with compressed air and start over. - Oven
Take a look at the instructions that come with your powder paint. Typically, you’ll need to set your oven to around 180°C (356 degrees Fahrenheit). The parts should stay inside for 10-20 minutes. Remember, this time is measured after the part reaches the mentioned temperature, so you might want to add a few extra minutes. If you take it out too soon, you might notice the coating is rough, not smooth. In my experience, even if you leave the parts in the oven for 30-40 minutes, nothing bad usually happens. - Cooling down
This step is pretty self-explanatory. You need to cool down the parts before using/packaging them or so on. It depends on the ambient temperature but usually after around 15-20 minutes, you should be safe to touch the parts. Check before grabbing the part and burning your hand! - Ready
Congratulations! Your parts are ready! You can be proud of yourself – from just an idea and some online research, you’ve reached the end with your first powder-coated part. I know the feeling, it’s exciting and empowering! But don’t stop there! Experiment and play with different techniques and materials to try and improve the process even more. How about mixing powder colors or coating different materials? Let me know how your experiments turn out!
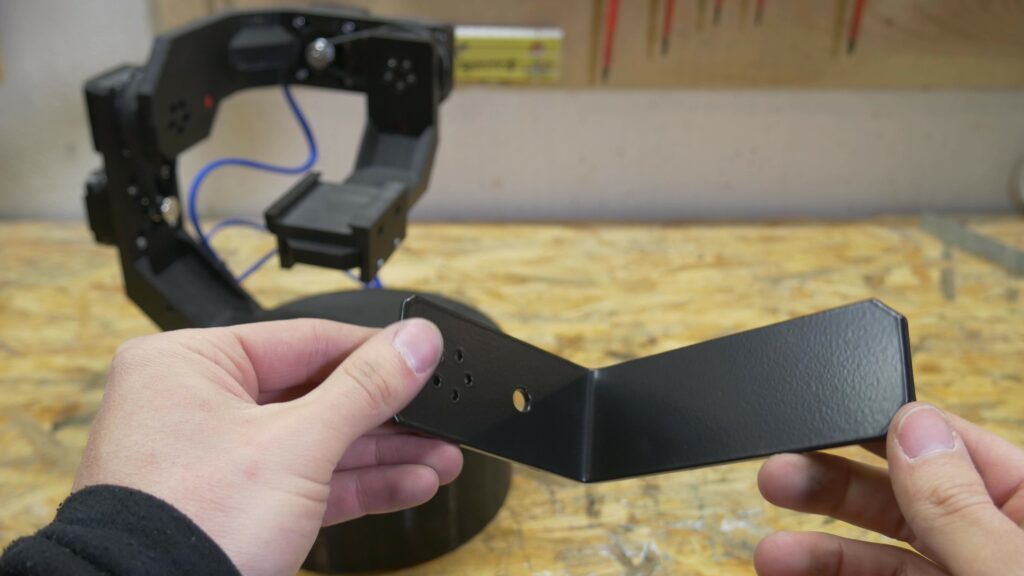
And finally some examples of the parts I had powder coated: