Robots are cool, I think we all agree on that. Right here I would like to give you a short introduction to all the topics that you will most likely face while building your first robot. In the beginning, I just wanted to say no worries, building simple robots is not hard at all, most of it doesn’t even require any soldering (sometimes you may need to solder cables to motors, but for simple robots that’s the only soldering required).
I also wanted to point out the difference between a robot and not a robot. Some tutorials refer to an RC car as a robot but in reality robot is a device that can work on it’s own. At the same time it’s not about fancy futuristic artificial intelligence or humanoid robots, it’s about simple tasks that are solved by the robot completely without human interaction. So a line follower or an obstacle avoiding robot are great examples of ROBOTS while a “robot” and a human with a remote next to it is not a robot.
Keep in mind that this is not a complete tutorial with code, schematic and DIY instruction. It’s meant as introduction to all the topics you should know about in order to even start and understand some of the robotics tutorials so that instead of mindlessly following those you understand what’s going on.
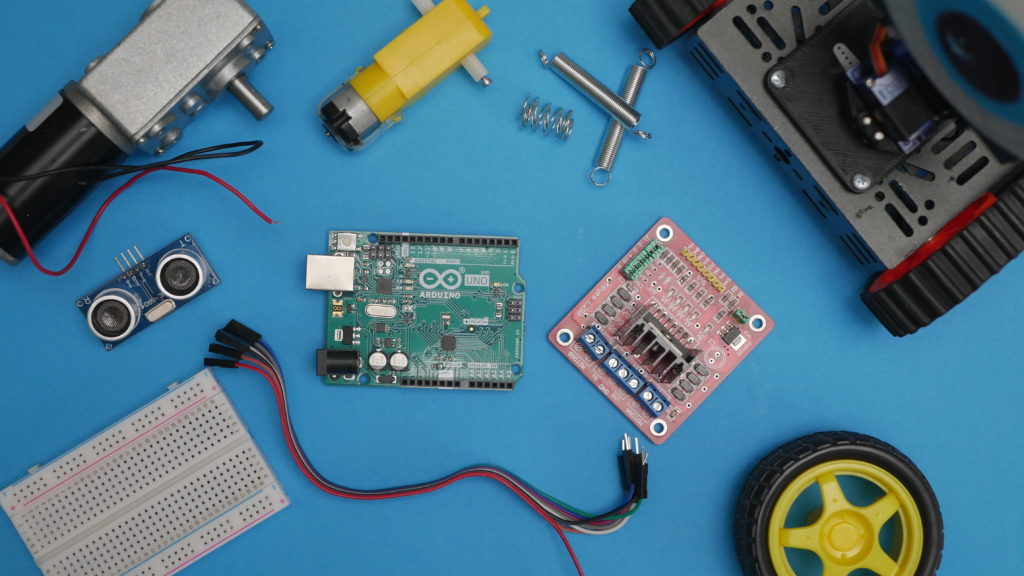
If you want to start easily with a kit, you can check out something like this with all the parts, chassis, motors, sensors, and Arduino. If you prefer to buy components individually check out the list below.
Here you can see a short one minute introduction video, and to learn more about all the topics continue reading:
Microcontroller
Microcontroller is a brain of the robot, all the logic, conditions and calculations are performed in here. To simplify it we can say that microcontroller is just a very very simplified computer, the internal structure is more or less similar. There is no screen or keyboard, just a chip with pins. By writing the program you can read pin states set conditions (if statements for example) do some math and set output pins conditions or communicate with other modules, sensors etc.
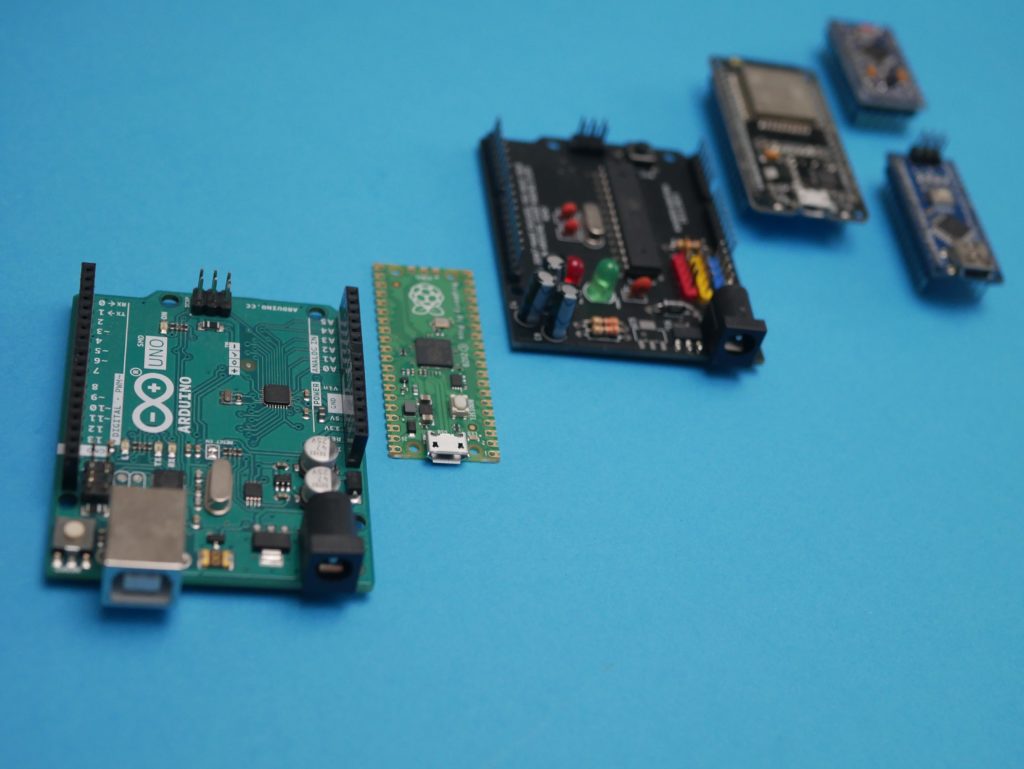
There are a lot of different types of microcontrollers but if you are just starting you should take a look at Arduino UNO (which is actually more than just a microcontroller, it uses Atmega328 as a microcontroller but Arduino is rather an ecosystem and collection of development boards). Any Arduino board is very easy to start with and Arduino UNO is additionally quite affordable (Original boards start at 23 USD or you can buy a Chinese Arduino clone for 5 USD). With UNO you can build blinking LEDs, learn electronics and programming, simple robots, home automation, measuring devices and even CNC machines! If you need more pins (trust me if you are just starting you don’t need more pins) you can buy Arduino Mega.
| Name | Store 1 | Store 2 |
| Original Arduino UNO | https://bit.ly/2MuCKMw | https://bit.ly/3ormF7N |
| Clone Arduino UNO | https://bit.ly/3t5gk59 | https://bit.ly/3osuWIi |
| Original Arduino Mega | https://bit.ly/2YnfYsQ | https://bit.ly/3pt5vro |
| Clone Arduino Mega | https://bit.ly/3aqqXHB | https://bit.ly/2M3BsZf |
Of course Arduino is not the only way to go. You can read about programming STM microcontrollers, AVR, or lately released Raspberry Pi Pico (programmed with C++ or Python). There are some more advanced boards like Maix Sipeed with an integrated screen and camera programmed with Python. You can also take a look at single-board computers like Raspberry Pi 4B or BeagleBone Black. But all of those examples are probably not the best for beginners.
Sensors
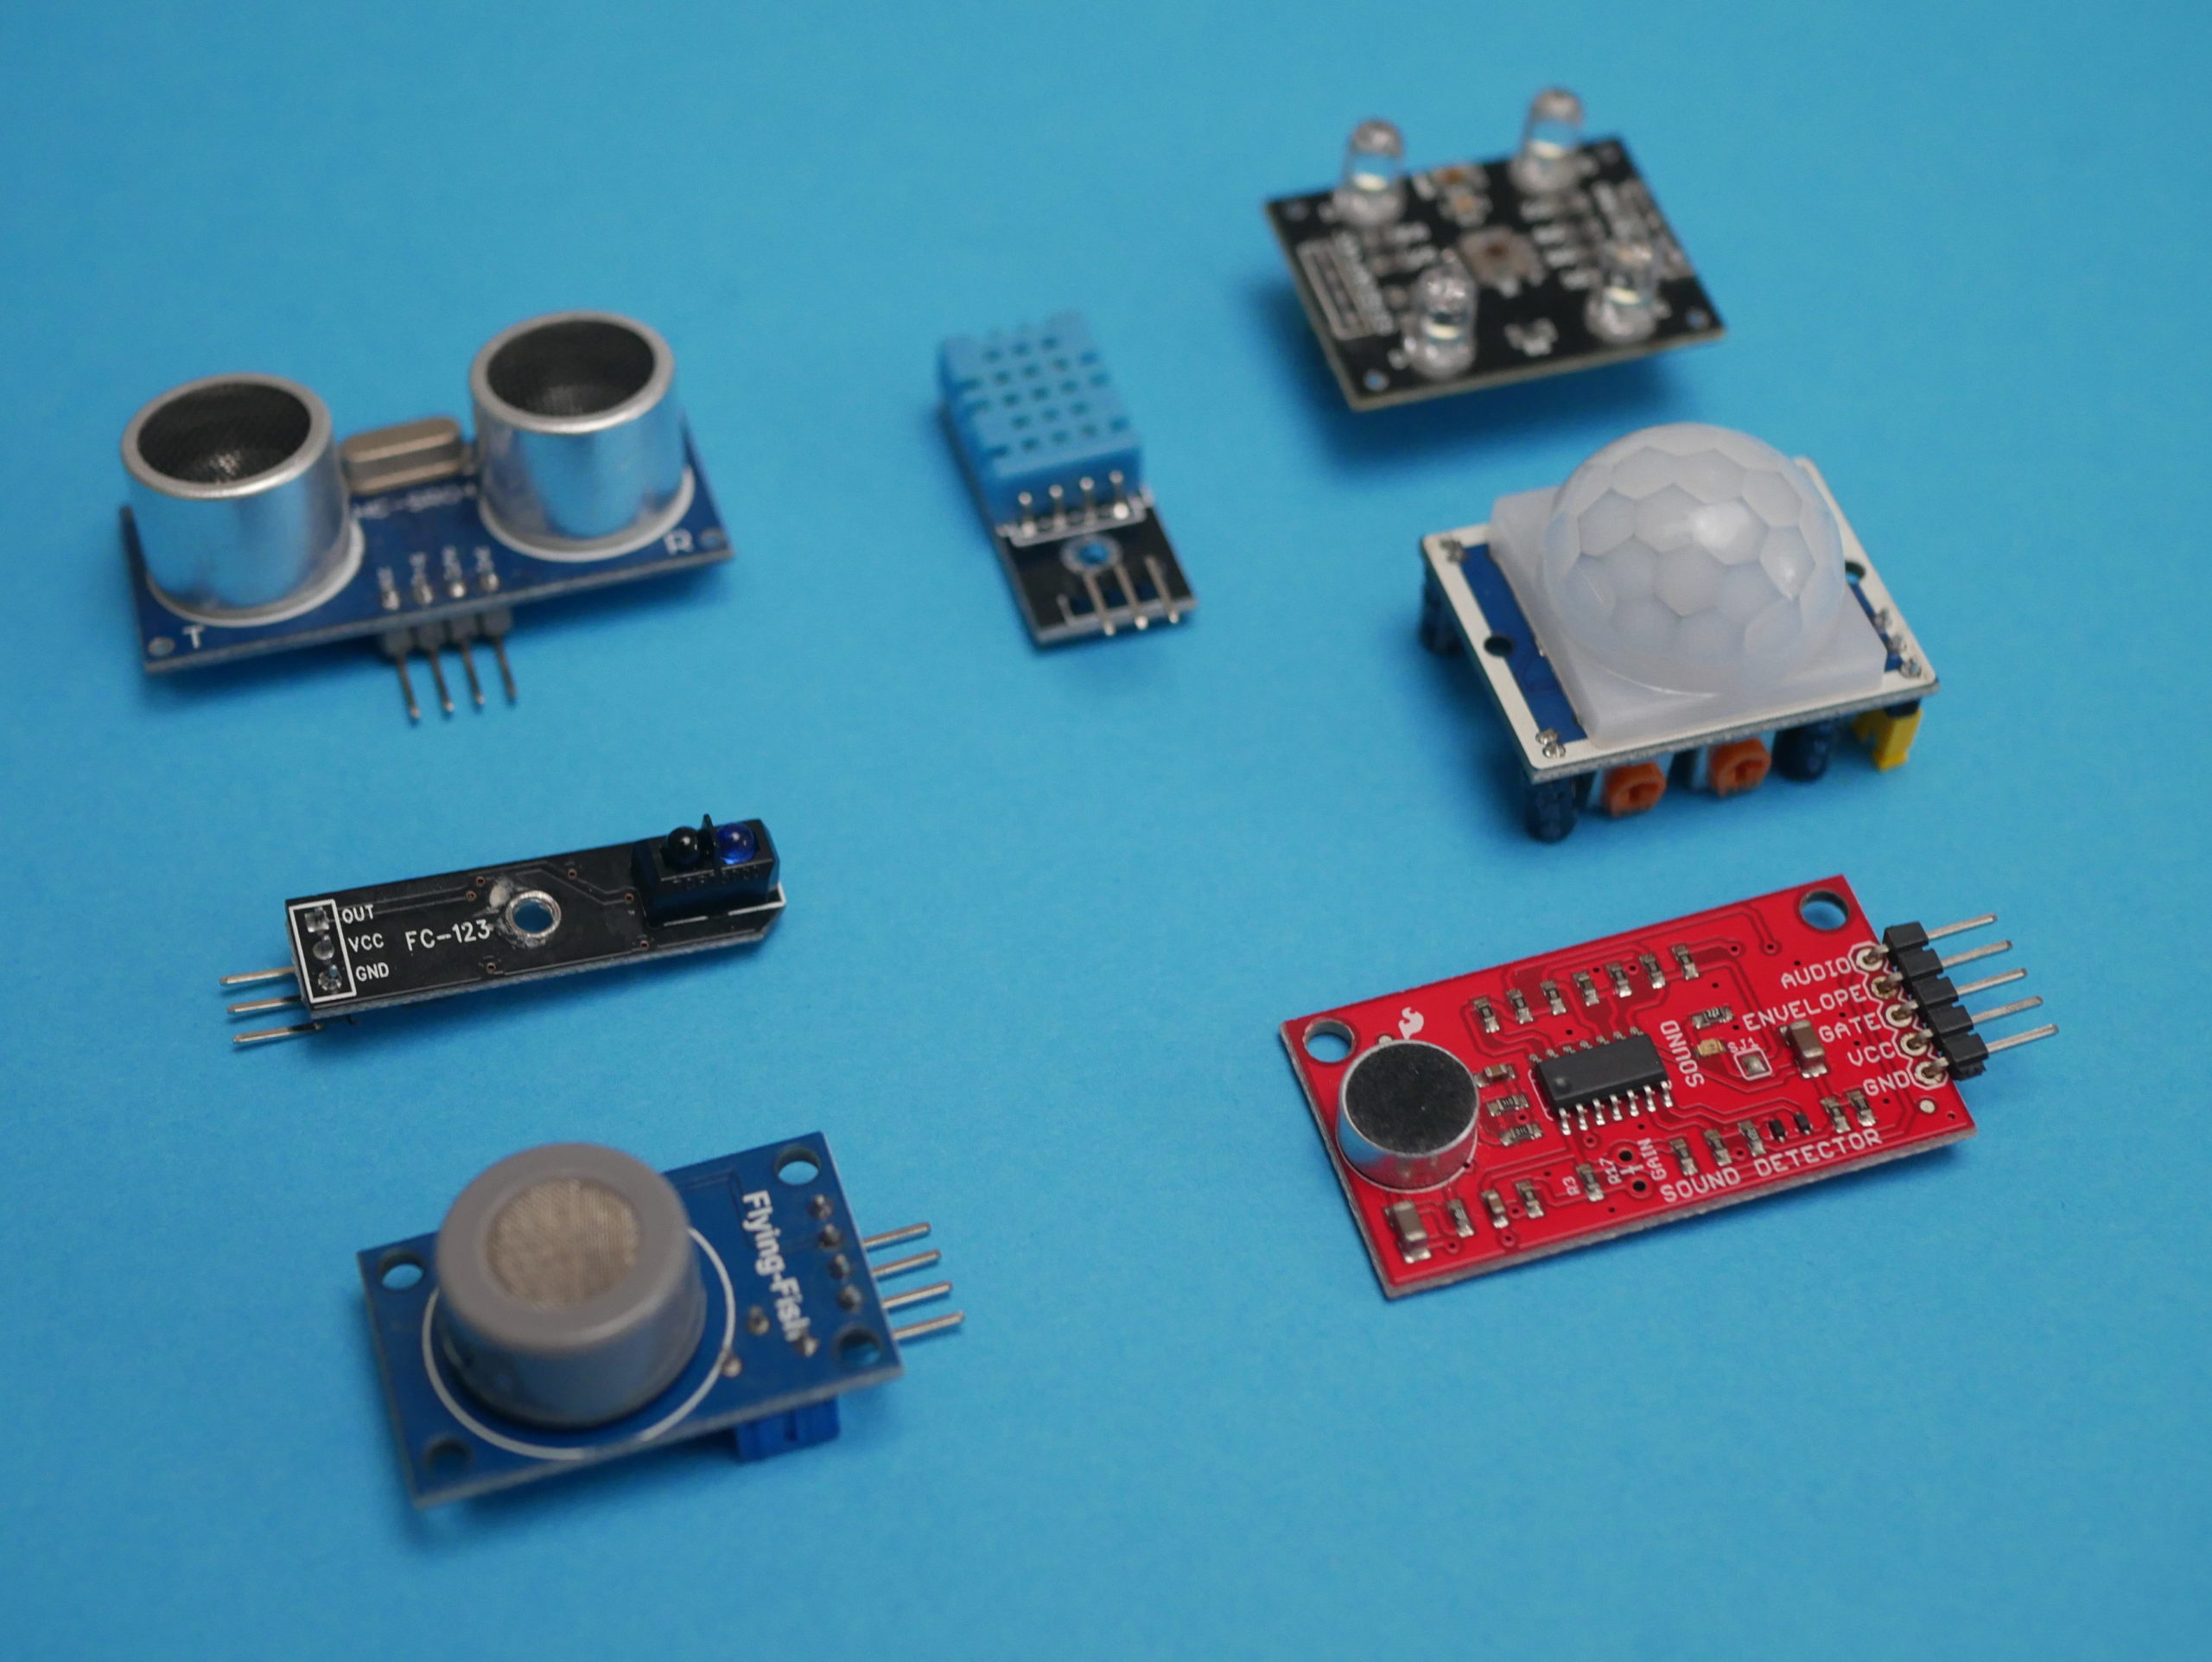
In order to build a robot (not an RC car) we need sensors. Sensors are devices that measure physical things and transform those readings into electrical signals so that we can read those with microcontroller. For example, to build object avoiding robot we need an ultrasonic sensor that will measure the distance between a robot and an obstacle. This distance or actually two-way time of travel of sound that is processed into the distance can further be processed to decide if the obstacle is close enough to stop the robot or turn. With 2 conditional statements (if(…){}) you can write a simple program for such a robot.
Another popular sensor for simple robots is a line sensor that can be used to build a line follower, that is a robot that follows the black line. By using three of those sensors at the front of the robot you can write a simple program that will drive forward when the line is detected by the sensor in the middle, if the line is detected by the right sensor it should turn right, and if the left sensor detects line you need to turn left. This is a simple example of a not really efficient program for a line follower but it works really well 🙂
There are other types of sensors, there is a sensor to measure everything you can think of air quality, pressure, soil pH sensor, LIDARs, movements sensors etc. Once you get more familiar with basic sensors you can start playing with those a bit more advanced. Ultrasonic sensor and line sensor are probably the easiest to start with and pretty straight forward to use.
| Name | Store 1 | Store 2 |
| Line Sensor | https://bit.ly/39q4qLx | https://bit.ly/2MxQTbW |
| Ultrasonic Sensor | https://bit.ly/3t1Quz7 | https://bit.ly/2YjCqTD |
| Sensor Kit | https://bit.ly/3aqzXfR | https://bit.ly/39rnmJT |
Motors
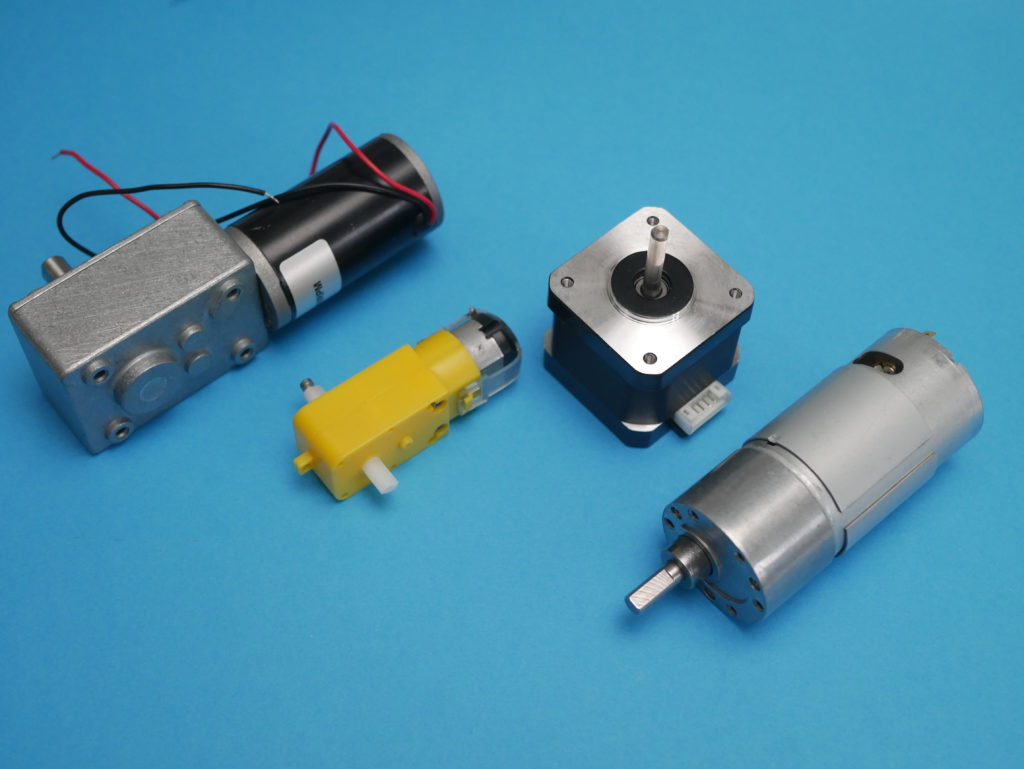
There is many options when it comes to motors for robotics but because this is an introduction I will focus only on simple and cheap motors. You should pay attention to the rated voltage and current of the motors. Usually, you should look for motors with voltage of about 5 to 12V. There should be a way to mount wheels or you will have to look for a DIY solution. In order to increase the torque and lower the RPM motor should have a built-in gearbox. To start I recommend those plastic yellow motors, those are not great and you wouldn’t build the most amazing robot ever with those but to start those are great!
| Name | Store 1 | Store 2 |
| Yellow Motors | https://bit.ly/3orwWkn | https://bit.ly/3pseObk |
| Small Motors | https://bit.ly/3oqqgTm | https://bit.ly/3adWmMX |
| Bigger Motors | https://bit.ly/3qZZVxb | https://bit.ly/3pthhSC |
Motor driver (H Bridge)
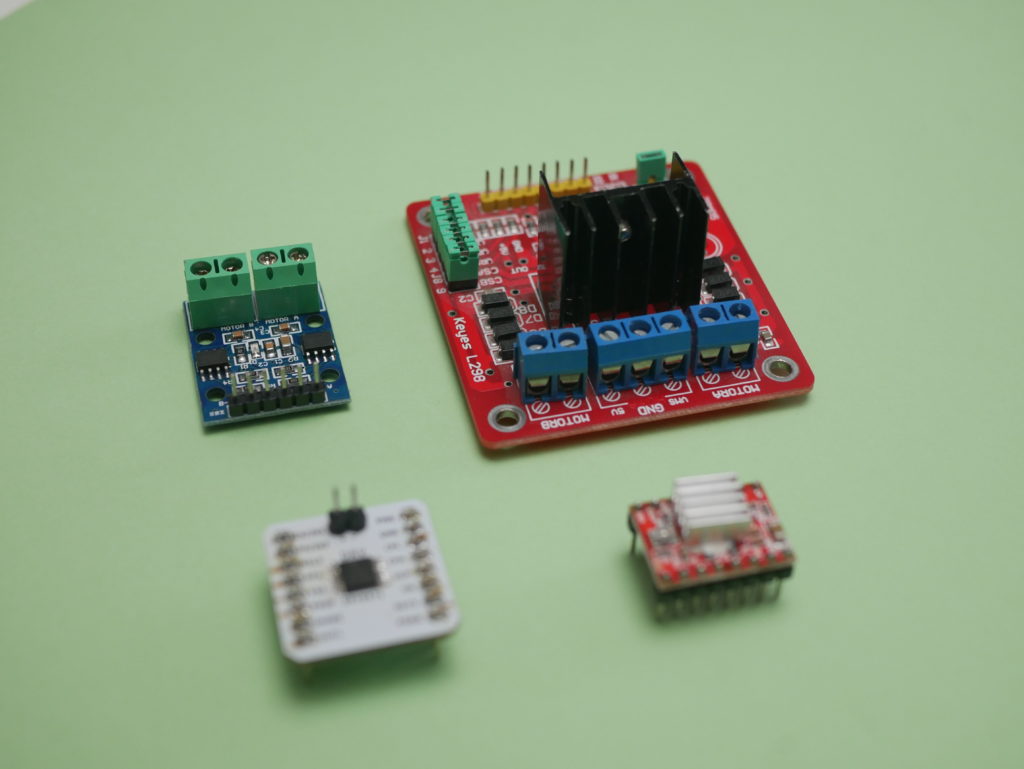
There is no way to drive a motor directly with an Arduino, don’t even try because you will break it. In order to control the motors we need a motor driver also called H bridge. Again there is a lot of options and most of them are very similar. Main differences are max voltage and current that can be handled by a driver or some additional features. Some simple and popular drivers are listed below.
| Name | Store 1 | Store 2 |
| L298 | https://bit.ly/36h9IH5 | https://bit.ly/3cgeLvq |
| L9110S | https://bit.ly/3acjcVl | https://bit.ly/3qYZyTI |
Cables, Breadboards
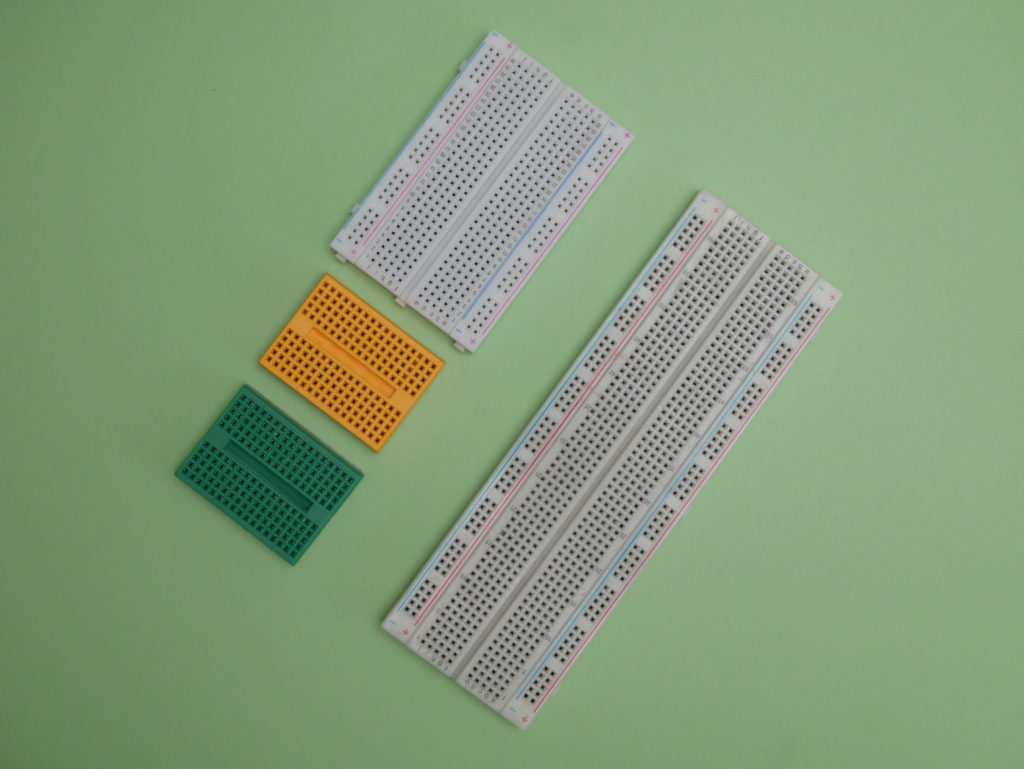
Obviously, you will need some cables and a breadboard to connect everything together. They’re nothing complicated, buy some female-female, female-male, male-male cables. When it comes to breadboard use a bigger one for bigger projects and a smaller one for smaller projects, usually power rails on the sides are very useful.
| Name | Store 1 | Store 2 |
| Cables | https://bit.ly/2L20vLG | https://bit.ly/2M2yGDx |
| Breadboard | https://bit.ly/3cj6t67 | https://bit.ly/3t3MGgP |
Chassis
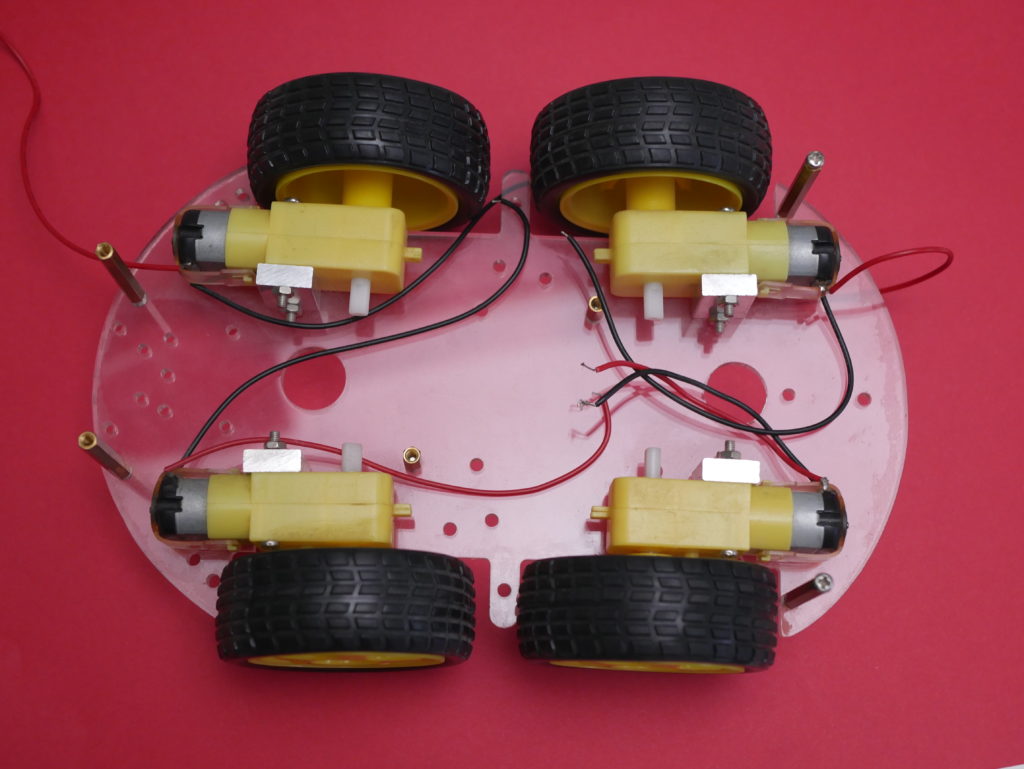
In order to attach everything together, you will need a chassis. You can buy a set with chassis, motors and wheels or you can try to find your own DIY solution and make a chassis out of plastic or even cardboard (that’s how I built my first robot).
| Name | Store 1 | Store 2 |
| Chassis 1 | https://bit.ly/3t3LJF7 | https://bit.ly/3cfuaw1 |
| Chassis 2 | https://bit.ly/3a9Ebbm | https://bit.ly/3cnsX5N |
Batteries

The battery is always a really problematic part of building robots. The most common choice is a LiPo battery but it’s a little bit dangerous, you have to take care of it and be careful because discharging the cells under 3.2V may damage the battery. Those batteries are sold as 1S, 2S, 3S and so on which means one, two or three cells because each cell has a nominal voltage of 3.7V a two-cell battery has a nominal voltage of 7.4V (and a max voltage of 8.4V). Batteries vary with capacity, the bigger the capacity the longer you can power the robot. There is also max current that can be drawn from a battery this is labeled as for example 10C and it means that capacity multiplied by 10 will give the max amperage that you can draw from a battery.
Another (probably safer) way to go is to use protected 18650 batteries. It’s also more complicated because you need to create a battery pack on your own and combine a few of those batteries in parallel or in series. Professionally those batteries are spot welded together but you can just easily use a battery box to keep them together.
I don’t recommend going with AA or AAA batteries as you will need to recharge or replace those very often (it’s not good for the climate and your wallet) and the max current of those isn’t enough for some motors.
| Name | Store 1 | Store 2 |
| 2S LiPo | https://bit.ly/3iUpE7q | https://bit.ly/2M2ILAn |
| 3S LiPo | https://bit.ly/3qX8sRw | https://bit.ly/2M2ILAn |
| 4S LiPo | https://bit.ly/3iWMQSk | https://bit.ly/2M2ILAn |
| 18650 Battery | https://bit.ly/3a4ys6w | https://bit.ly/3orRskO |
| 18650 Box | https://bit.ly/3a9hIv7 | https://bit.ly/36jr8Dh |
Programming
A lot of people are scarred by programming, I am not really sure why. Programming is easy, you don’t need math to create simple robots! If you have any experience with C++ or similar programming languages you can start programming Arduino right now. If you don’t no worries, there is a lot of great tutorials and examples online. Once you start and try to write your own programs you will realize that it’s not that hard.
You can find some cool tutorials on official arduino website:
https://www.arduino.cc/en/Tutorial/HomePage
Or just type “Arduino tutorial” into YouTube and you will find thousands if videos on this topic!
I hope this article helped you a bit with your robotics journey! If so don’t forget to share with friends and share you progress on Instagram by tagging me: @nikodembartnik and @indystry
Have a nice day!