I have been always very fascinated with space. The easiest and 100% safe way to almost “touch” the space from the ground is astrophotography. Watching planets, comets, and other objects through a telescope is even better as you see it just through some lenses and mirrors with your eye without any electronics. But telescopes are expensive, very expensive. The one I got on my eighth birthday was more like a toy than a real telescope. I could still observe the moon up close but unfortunately nothing more, not even a single planet. But that wasn’t important back then, I had a telescope and I could stare at the night sky through it, that was enough. Over 15 years passed since then and my passion for space is still alive. In March 2023 I defended my bachelor thesis titled “StarTrckr – night sky tracking device” and got an engineering title in Control, Electronics, and Information Engineering. Here you can find more information about this open-source project.
IDEA
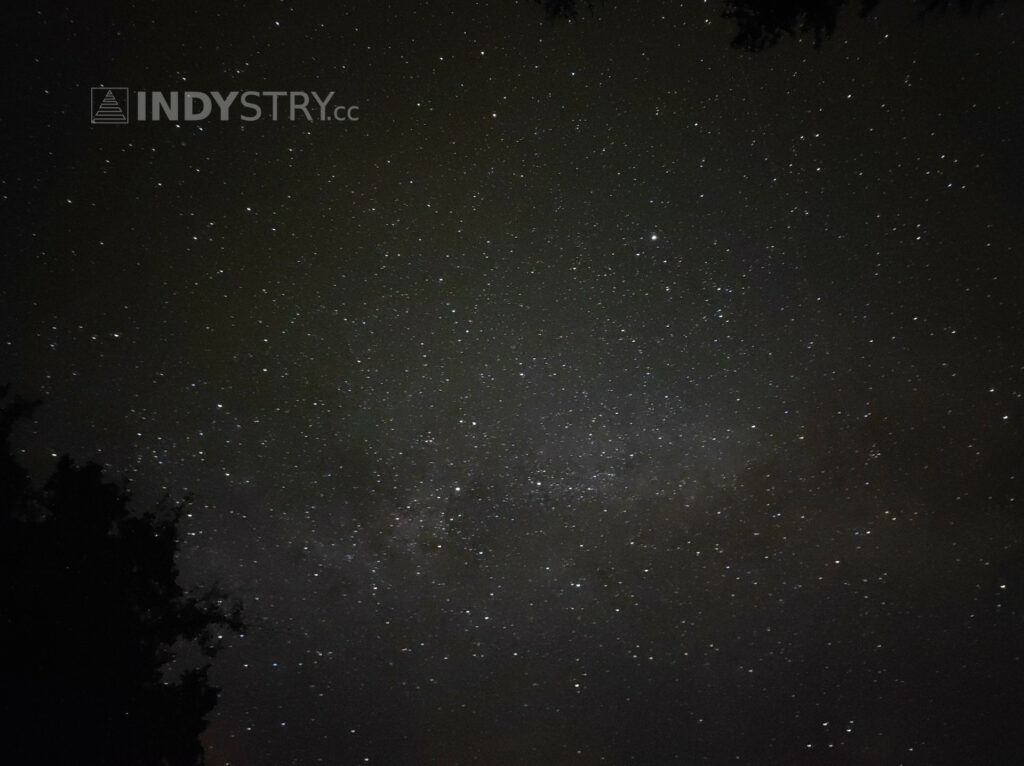
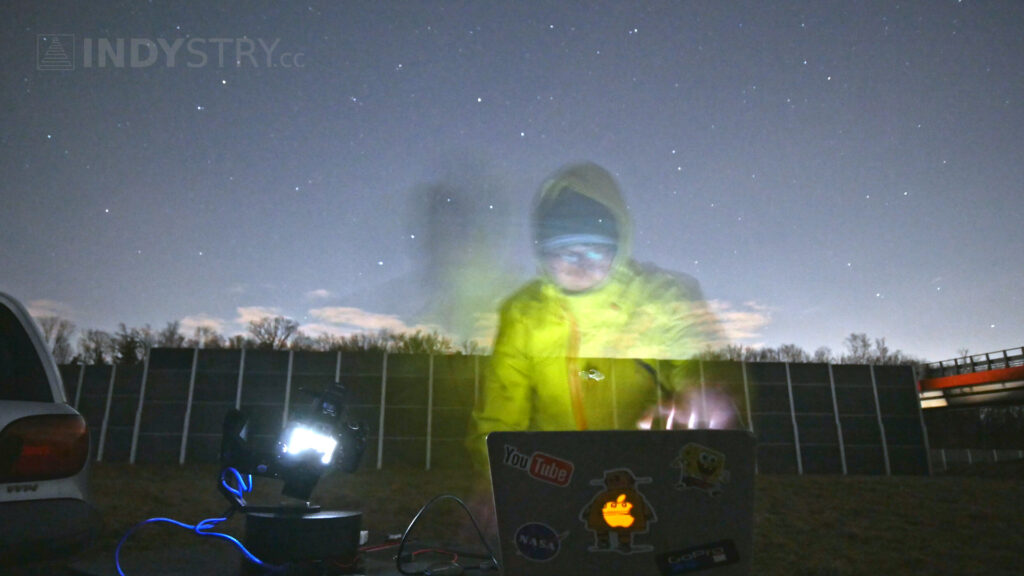
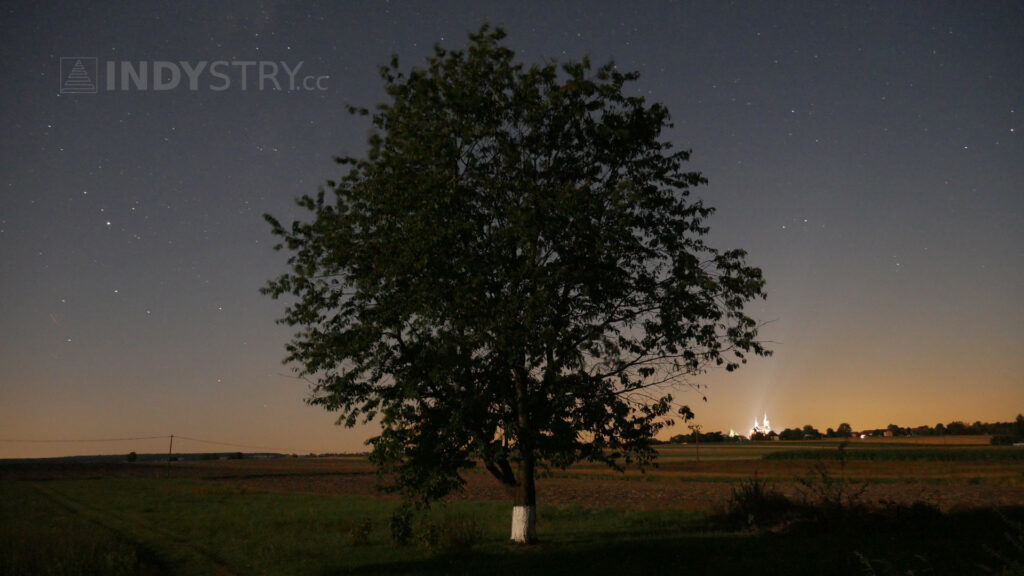
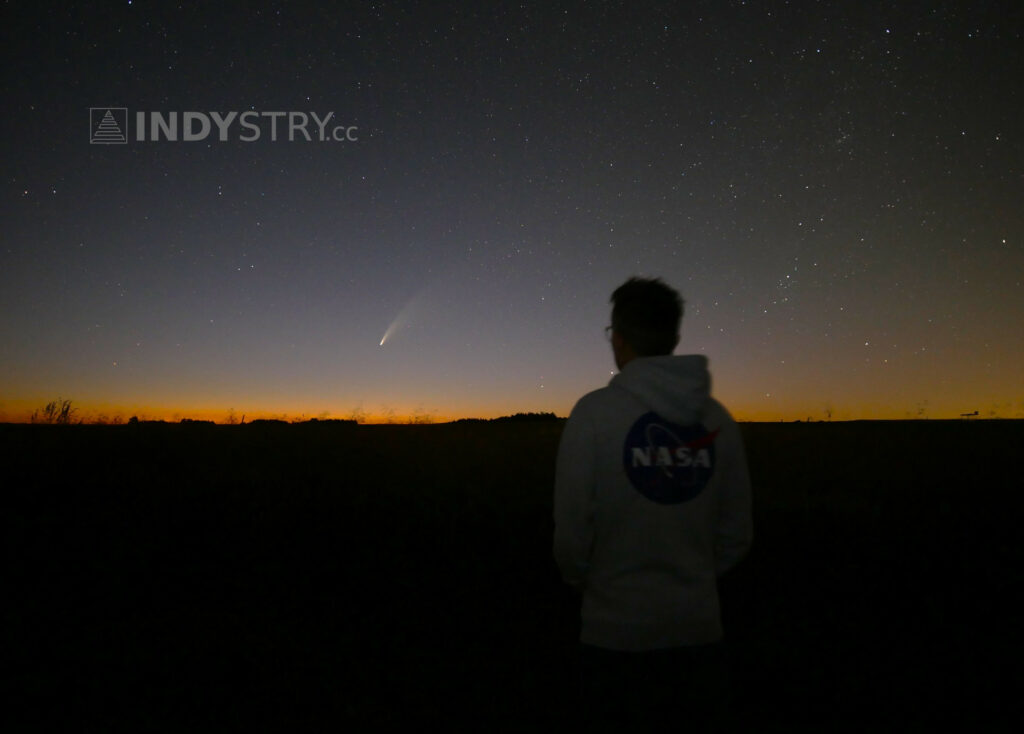
I am not 100% sure of when the idea for this kind of project was born. On any occasion throughout my life, I have been trying to get some nice pictures of the night sky with any kind of camera that was available. As I have been upgrading my gear and learning more about photography from time to time the images got better and better. You can see some of them below. While some of them are simply nice images I like the most the images that are definitely not that impressive. This one I simply took with my smartphone in the Belgian forest while lying on the ground with a group of friends from CubeSat Summer School organized by the European Space Agency (ESA). I also got some nice images of the Neowise Comet in 2020. But Starry Tree is my favorite so far.
But the more astrophotography images you take the more you realize that a simple camera and a tripod will only take you so far. Once your aspirations grow and you want to target deep sky objects (galaxies and nebulas) you will face a problem – Earth rotates. There are devices that can deal with that called star trackers. Most of them are either equatorial mounts – big 2-axis devices designed for telescopes. One of their axes must be aligned with Earth’s rotation axis in order to properly track the night sky. The other popular type is an alt-az mount. It also uses two axes but none of them is aligned with the celestial pole and because of that, they suffer from a problem called field rotation. You can track any object in the night sky but it will rotate on the sensor of your camera resulting in a blurry long exposure image. Initially, when thinking about this problem I wanted to design a small 3D-printed equatorial mount with just one motor rotating at exactly 15 degrees per hour (360 degrees/24h = 15 degrees/h – that’s how fast the Earth rotates!). But equatorial mounts are hard to set up properly, need a big tripod, and are usually too complex for a simple DSLR type of camera and lens I am using. Also building something that so many people built before wasn’t as exciting as creating something new. So I slowly started thinking about a different project, something new and completely different. That was long before my final semesters at the university.
At some point, I decided that alt-az mounts are minimalistic and simple and I like this kind of design. But the field rotation is a problem. A problem that can be solved. By simply adding another axis. Does it make sense to create a more complicated system? Yes, there are numerous advantages that I will mention later.
Check out my store and support my work!
-
 IndyMill Bare Steel Plates Kit$129,00
 -
 Powder Coating Gun$109,00
DESIGN
The design started on a piece of paper. Even before that, I had been thinking about it a lot but my bachelor thesis pushed me to start working on it and this process started with some paper sketches.
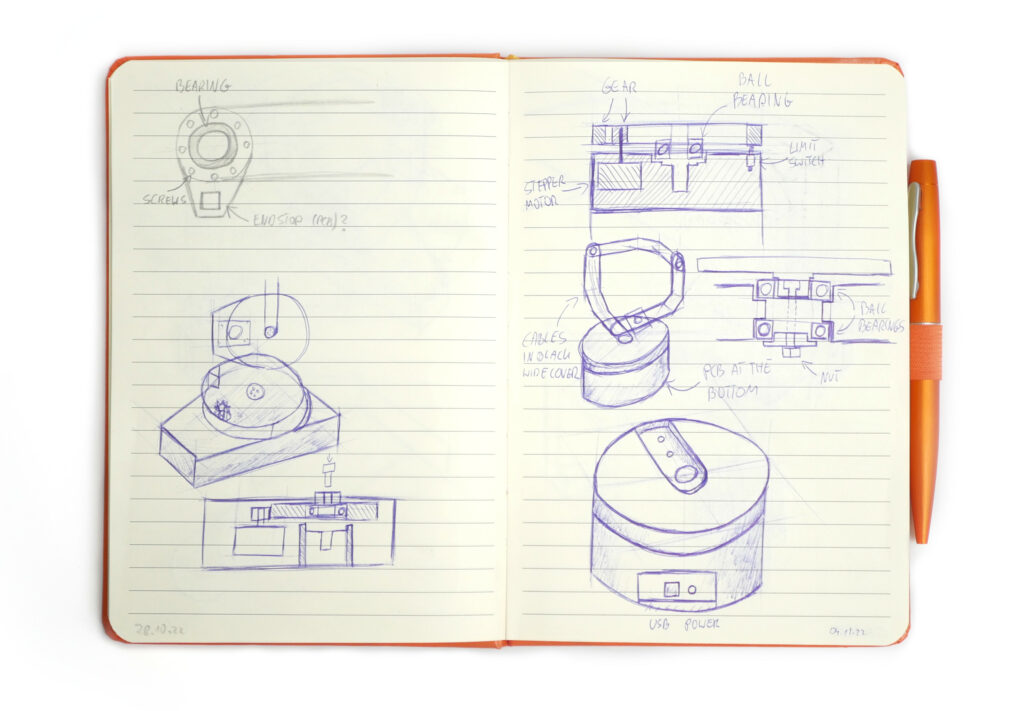
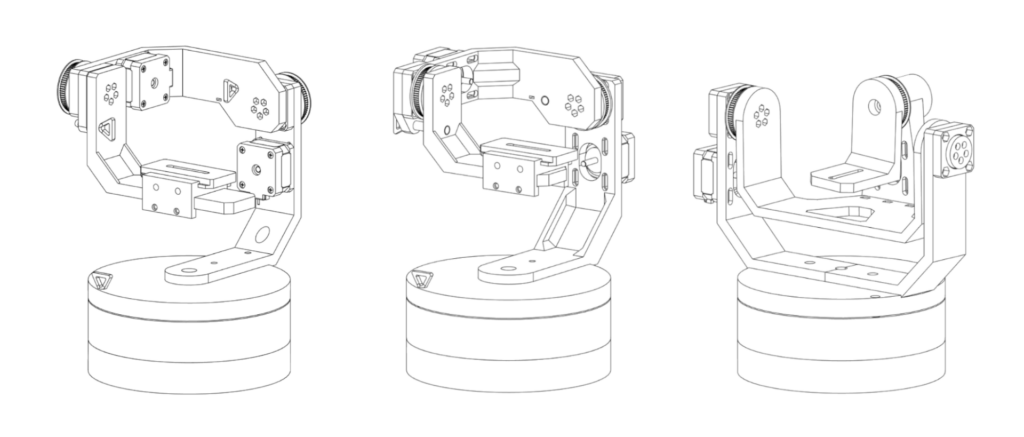
These slowly turned into a proper CAD design. Sketching everything beforehand on a paper was a great way to think about the most important aspects of the project without being focused on dimensions and tools in Fusion360 – the program I used to design the whole project. Overall I designed 4 different versions. One was so bad that it is not even presented below. The first on the image from the left was blocking the movement on the axes (I thought it was not going to be a big problem but during testing, it was a serious imitation) so I designed the version in the middle with reinforced parts and motors flipped to the other side of the arms. The last version named v4 was not yet made. It features a bigger fork instead of one sided arm to increase the stiffness of the construction. All versions were designed to be printed on the most popular printers like ender3 or Prusa i3.
In the future, I am considering upgrading some parts (especially the arms) with laser-cut steel.
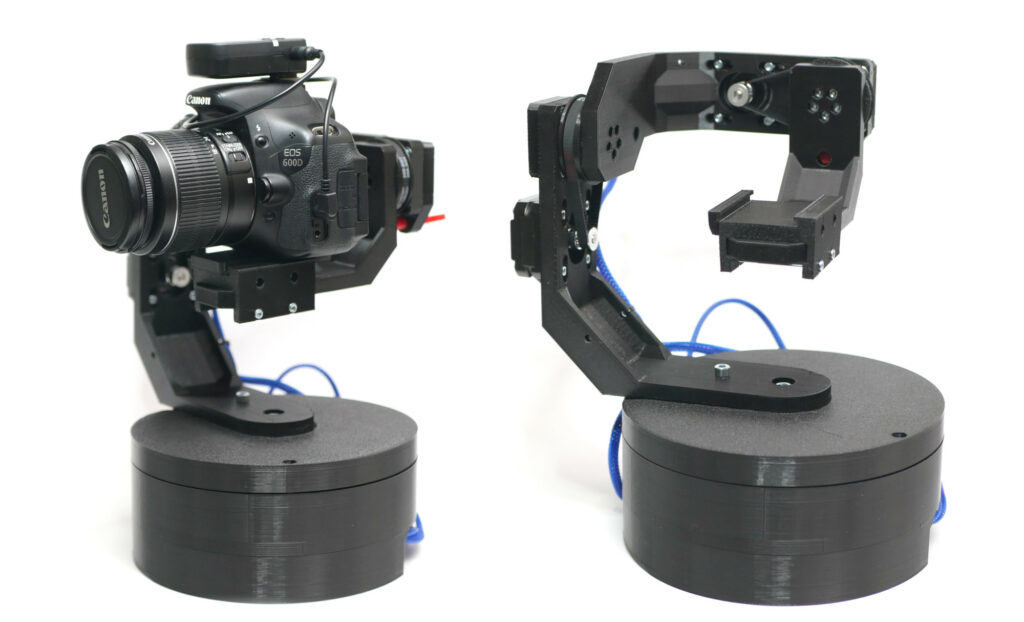
After printing and partial assembly that’s how the StarTrckr looks like. The base is composed of 3 parts that need to be stacked together.

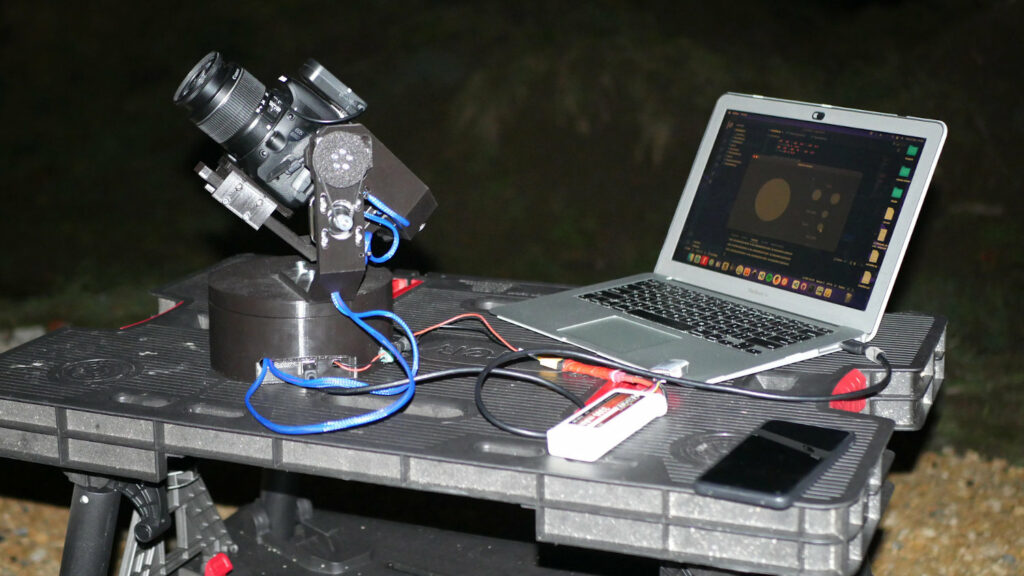
After assembly and attaching the camera a complete system ready for testing looks like that.
ELECTRONICS
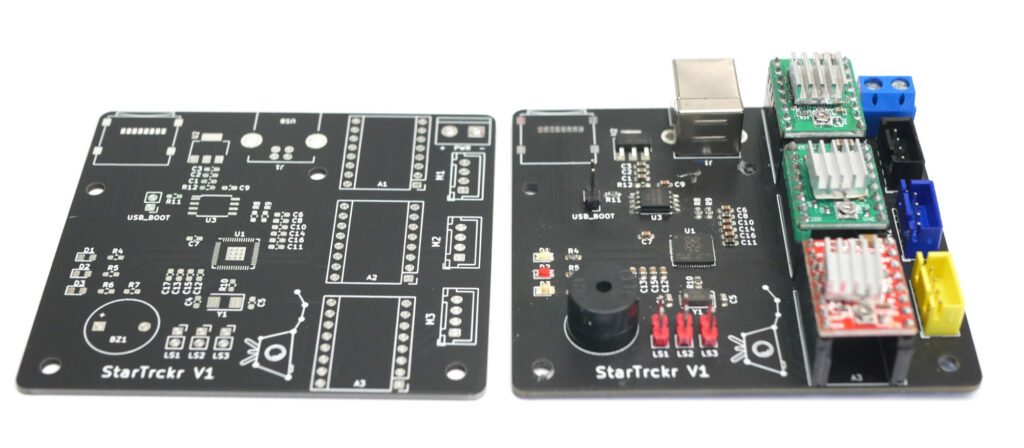
The design described above was only about the mechanical design and that is just a part of a project. Electronics is another essential part of getting it working properly. My PCB and schematic were designed in KiCad and later made by JLCPCB.
When I was working on the project there were big problems with the supply chain and a shortage of electronic components, especially microcontrollers. But there was one, always available, cheap, and programmable in Python. RP2040 from Raspberry Pi that was used in Pi Pico which I played with and liked a lot so I decided to design my PCB around this microcontroller fortunately the RP2040 documentation is really incredible and so detailed that designing your own custom PCB with this microcontroller is a great experience. The only problem is that an external memory chip is needed and it was quite expensive to buy. But I was able to just cheaply buy a module with this chip, desolder it, and solder to my PCB. I saved a lot of money on shipping and quite a lot of time that way.
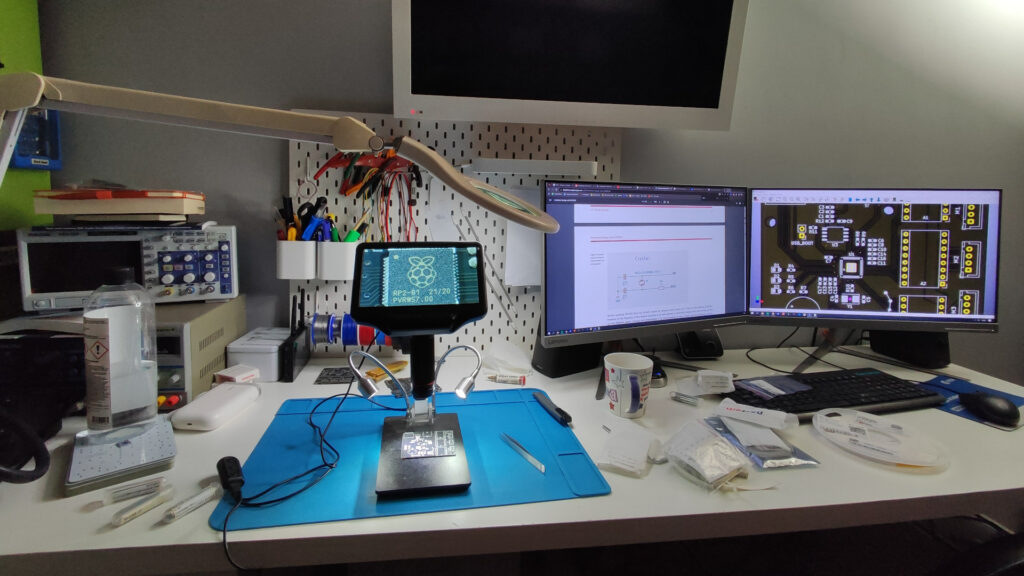
Soldering went smoothly even though the RP2040 has very small pins. After checking everything under a microscope and with a multimeter it looked fine so I uploaded a simple test script and it worked on the first try! I was really happy to see the PCB working. I started the project so late that it just had to work, otherwise it would be hard to finish my thesis on time.
More information, a list of parts, and design files are available on GitHub.
PROGRAMMING
Thanks to the RP2040 microcontroller I was able to use MicroPython to program it. As a data science student, I love Python and I think it was a great choice as I was able to create the desktop software used to control the StarTrckr and the firmware for the control board in the same programming language. The code was divided into multiple files to make it easier to read. Probably the most interesting part is the 3D Bresenhams algorithm to move the tracker on all axes at once and the complicated algorithm running on the desktop computer with multiple vectors and a lot of calculations to easily rotate the tracker, calibrate it with Eart’s rotation axis and then track the sky. It might not be the most pretty piece of code but it works and I hope I will improve it in the future.
TESTING
As the deadline was approaching very fast I wanted to start testing the system but the weather was bad most of the time. It was December so that was to be expected. For that reason, the first “test” was performed indoors with Stellarium software on the computer. Of course, that is not a real simulation but I just thought that it might be a nice way to simply test if everything rotates properly. Of course, it wasn’t, it was rotating in the opposite direction so I just fixed that by adding a missed minus sign.
The first real outside test was performed in a village in Poland where light pollution is not as big as it is in the city where I used to live at the time. That was the setup, a simple table, StarTrckr with a DSLR, my computer, and a 3S Lipo battery to power the system.
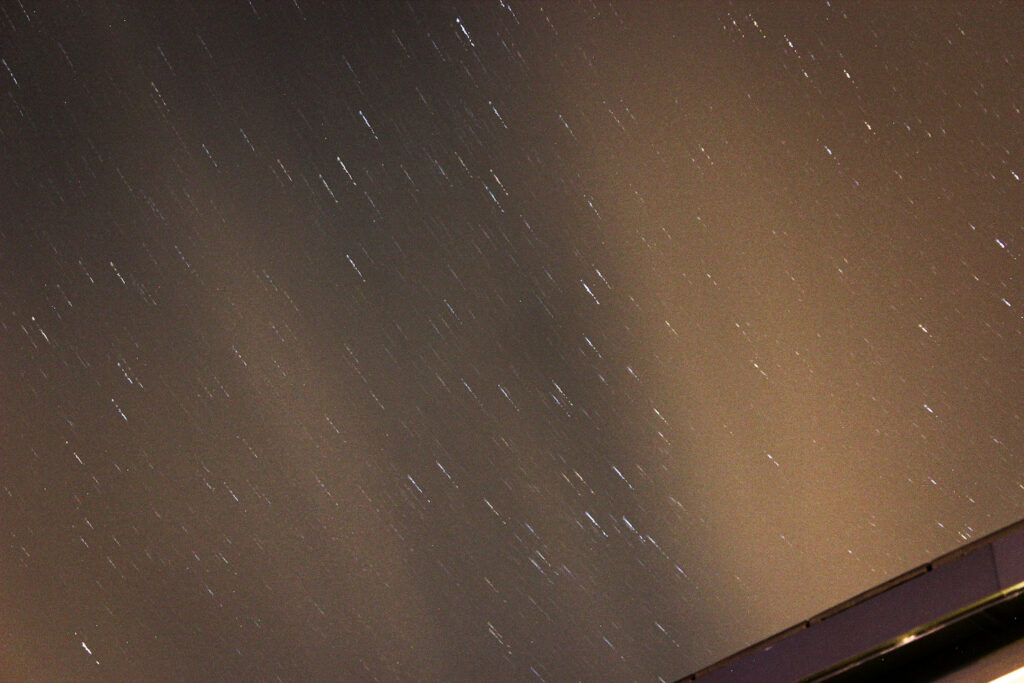
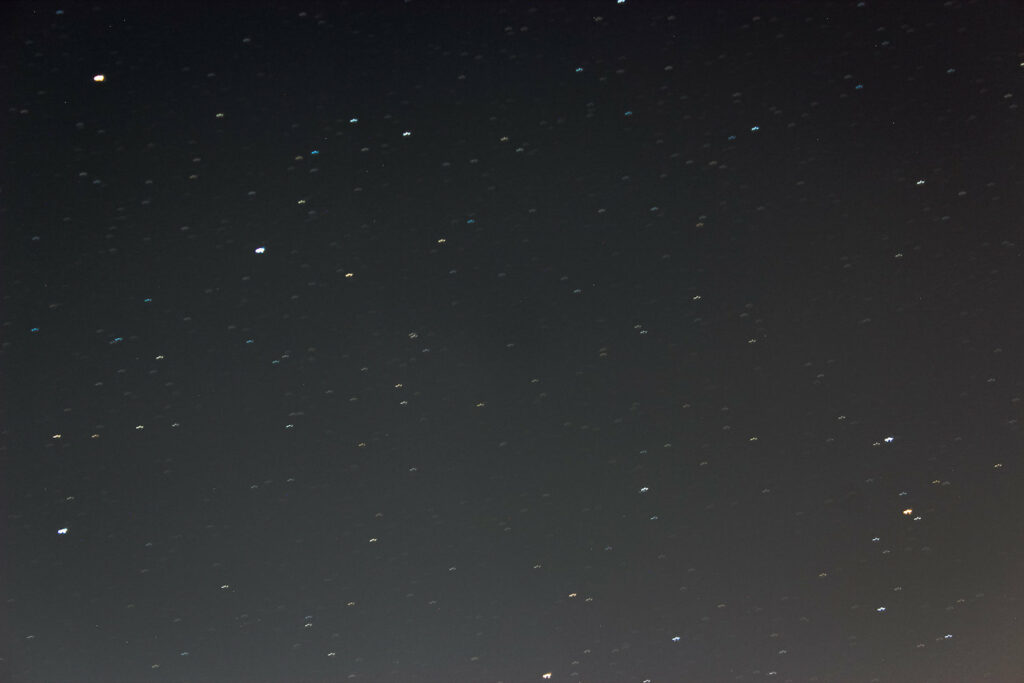
And now we can look at the test images. To prove that the system works I took images with the very same settings and the camera was mounted on the tracker but for the first one, you will see the tracking was disabled and for the second one enabled. The ISO, exposure time, f-stop, and lens exactly the same, it was just the tracking that was on or off.
So here is the first one, as you can see the stars are blurred and we can see what is called star trails – the stars are not points but rather lines. In the corner you can see a piece of a building, it’s perfectly sharp because the camera was stationary.
In the second picture, the star trails are not that visible and stars are much closer to points. The building in the corner is blurred because the camera is rotating.
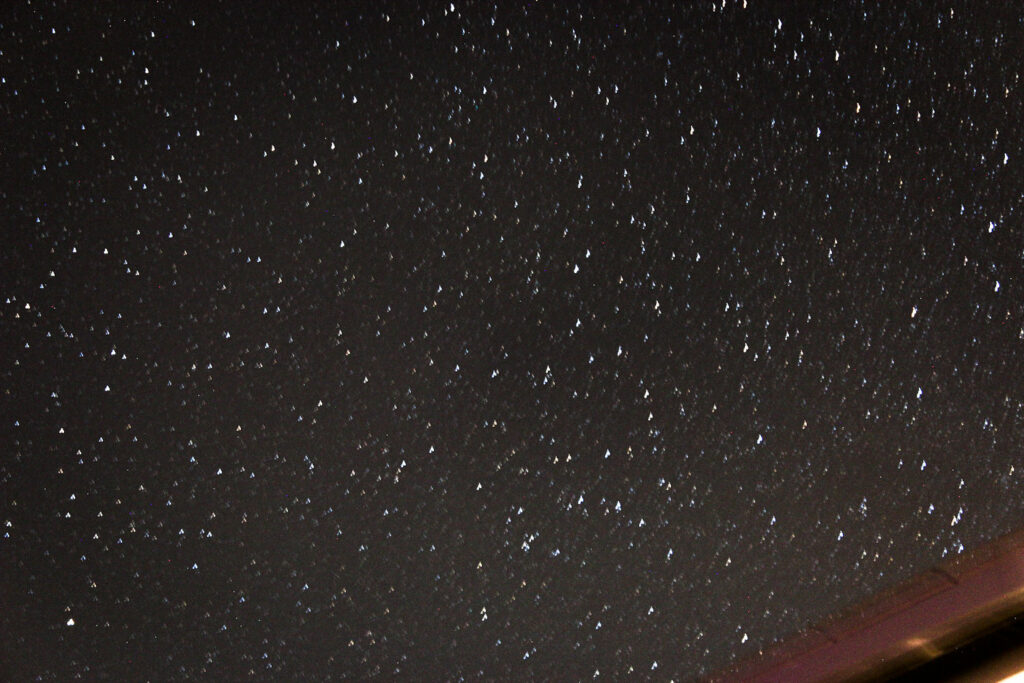
Why the stars are not perfect points? Because of no ideal alignment with the north star.
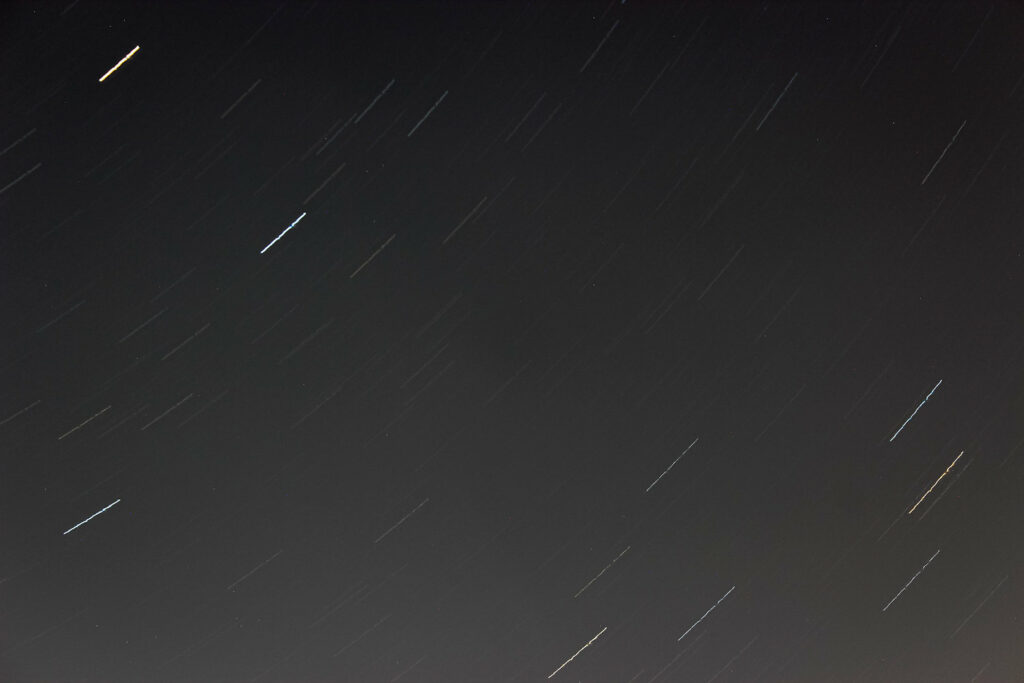
Test number two was performed in a bigger city where I lived at the time, light pollution is a serious problem there but I still wanted to try. This time I pushed the exposure time to 600 seconds so 10 minutes which was quite extreme but I really wanted to see what will be the difference in the images.
And here we can see perfect star trails when the tracking was off.
And here is the tracked image with the same settings.
Definitely not ideal points but much closer to that. And as I mentioned 10 minutes for this kind of setup with a basic camera and lens is quite extreme. It is much better to take more short exposures rather than a single long exposure as it is later easier to remove noise that way.
CONCLUSIONS
As mentioned at the beginning of this project was my bachelor thesis and thanks to finishing this project I obtained my bachelor’s title (in Poland we call that an engineering title). I was graded 5 for the project (the highest grade possible) and 5 for my whole course. It was the cherry on top of the 3.5 years I spent studying Control, Electronics, and Information Engineering. But that’s not the end! Right now I am almost finishing my master’s degree in data science and as my final project, I will continue developing my StarTrckr system.
I am really happy with the result of the project so far. The combination of so many different fields in one project was a great opportunity to learn and test different ideas. There is just one more thing to do. It has been my goal since I started working on this project – taking a nice image of the Andromeda galaxy. I hope it will happen soon and I will definitely share it with you.
And at the very end if you enjoy my projects and would like to support my work you can do it through my online store where I sell parts for my DIY CNC machine IndyMill and some parts for powder coating as well. You can support my work on Patreon or use YouTube super thanks. Simply subscribing to my channel and sharing the videos also helps a lot!
Happy making!
-
IndyMill Bare Steel Plates Kit$129,00
-
Powder Coating Gun$109,00