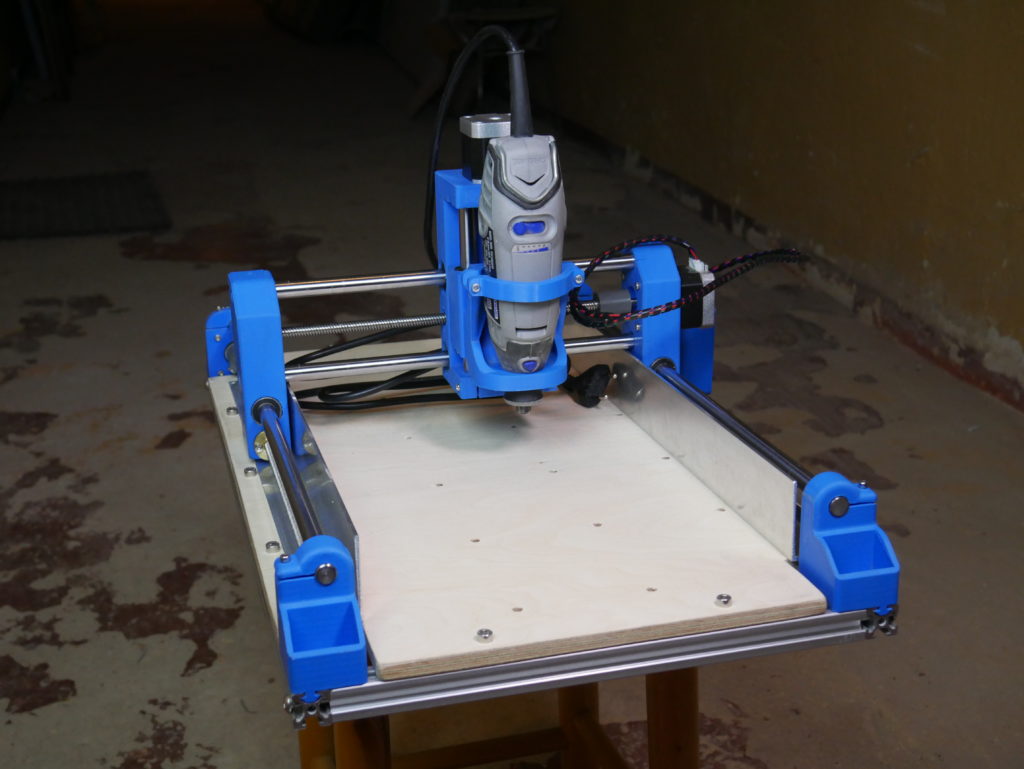
I love CNCjs for the interface and ease of use. But it lacks autolevel or height map feature which is essential to make PCBs with your CNC machine. I tried other CNC controllers that have that feature built in but very often they are just unusable for the interface or performance. After a quick search I found a GitHub repository with code that was meant to implement auto-level in CNCjs. I was able to easily get it working on my Windows computer, it was a long time ago and I managed to forget how to do it but now I need it to work on my laptop with macOS. It turned out to be way harder than I thought but I managed to find a way to get it working. I will show you all the steps and how I automated running the software so that it will be easier for you but also or me in case I uninstall it again and forget how to set it up. Let’s start!
Install CNCjs
Obviously, you will need CNCjs, if you don’t have it yet, you can install it from here: https://cnc.js.org
You can go and install it on Raspberry Pi but I prefer to use it as a desktop app on my computer. It’s quite easy to install if you scroll a bit on the main page you can find links to install it on macOS, Windows, and Linux.
Autolevel software
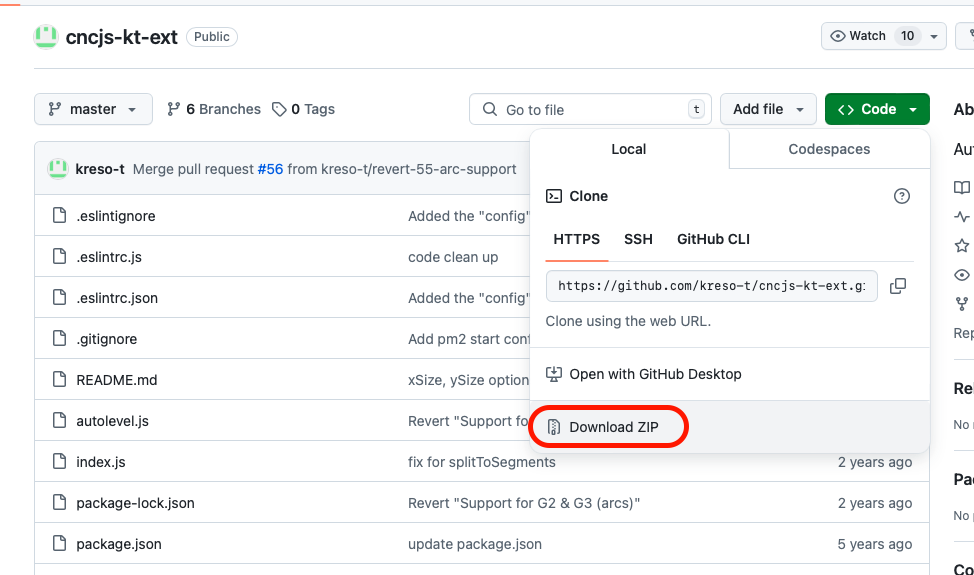
Thanks to the power of GitHub and open source there is code that was created to get autolevel to work in CNCjs, you can find it here: https://github.com/kreso-t/cncjs-kt-ext
Unfortunately, it’s not a simple plugin or a widget that you can add. It also has not been added to the main CNCjs app. So until then, we need to install it manually. I would love to write such a plugin based on it on my own but I honestly don’t know how to do that. I would love to learn, but right now there are other tasks with higher priority.
If you are not familiar with GitHub just go to the page and click the green code button. A menu will extend under the button, you can click download zip. Once the download is finished you can extract the zip file on your drive in some known location.
It’s time to open the terminal. Here we just need to navigate to the folder that we just extracted in my case it’s in
/Users/nikodembartnik/CNCjs_autolevel/cncjs-kt-ext-master

If you are not familiar with the terminal on your computer you need to use the cd command. If you want to see the content of the folder you can use ls command. Here is how I did it:
once you are in the folder type: npm install and hit enter.
Now in order to turn it on, it’s quite tricky as you need to run it with a proper command every time and make sure that the correct serial port and app port are selected. To make it even more complicated the port where CNCjs is running is random and different every time you turn CNCjs on. Therefore I decide to do it in an easier way using the Automator app on Mac.
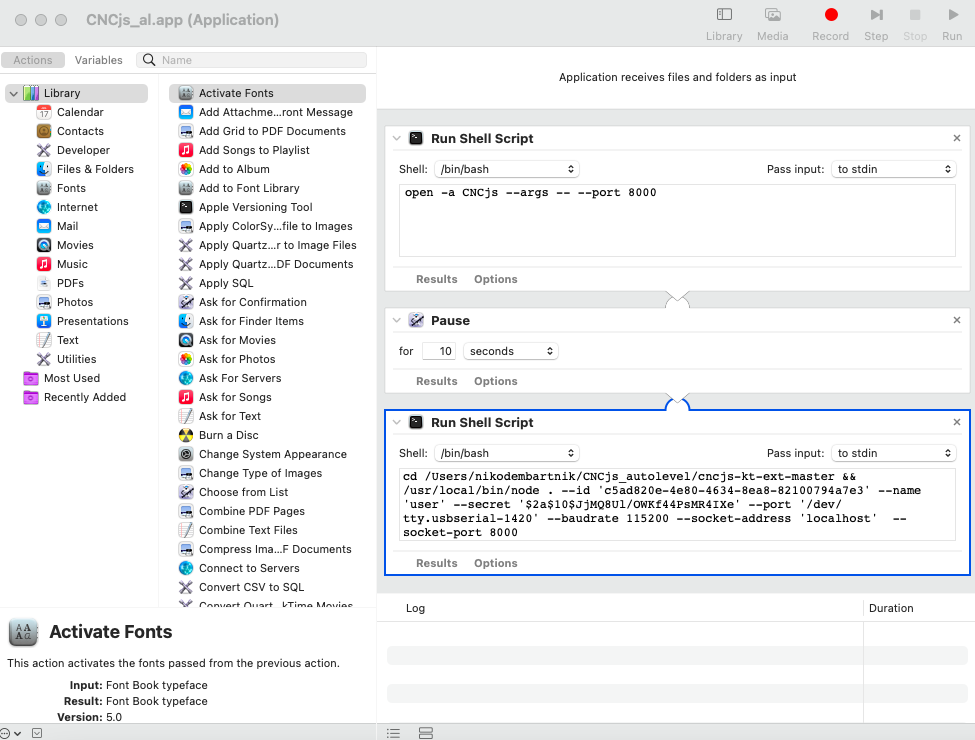
I wrote a bit longer commands to run CNCjs with a specific port then wait 10 seconds and ran the auto-level extension by connecting for a specific user, internet port, and USB port. You will also need to create a user in CNCjs and copy your ID and SECRET keys into the command.
To run CNCjs:
open -a CNCjs --args -- --port 8000
Wait 10 seconds and then:
cd /Users/nikodembartnik/CNCjs_autolevel/cncjs-kt-ext-master &&
/usr/local/bin/node . --id 'ID_HERE' --name 'user' --secret 'SECRETE_HERE' --port '/dev/tty.usbserial-1420' --baudrate 115200 --socket-address 'localhost'  --socket-port 8000
Of course above commands have to be adjusted to your folder names, id, secret and USB port. Thanks to this setup I can run CNCjs an autolevel with a single click.
I hope this will help you to make nice PCBs with your CNC machine!