Since I started with robotics for anything that required precise movement, low cost, and low weight, I have been using RC servos. These are super easy to control, come in various sizes, and are easy to buy worldwide. I build robot arms, spider robots, and even useless machines with micro and standard RC servos. There are a lot of things that make this a great choice for a lot of projects, but they also lack a lot of essential features for any advanced robotics projects. I found an alternative, that’s easy to use, solves all the problems of RC servos, and is not super expensive, it’s STS3215 – the motor that was used for the SO-ARM101 project.
Problems with RC servos
RC servos have been created for radio-controlled models. That’s why these are simply controlled with a PWM signal, and there is no way to set any additional settings or calibrate them. It’s one-way communication. It works well, and with just 10 lines of code, you can get this servo working with Arduino/Raspberry Pi Pico or any other microcontroller – that’s a huge advantage. But when you want to set the limits, modify PID values, save the center point, or read the current position, there is no way to do that. Using these servos in a continuous operation mode usually requires modifying them internally.
There are so-called digital RC servos, but these use the exact same way of communication and offer faster response, stronger holding power, and finer control under load.
Some of the problems mentioned above can be solved programmatically, but not all of them. And especially not the two that are the most crucial.
- No feedback on the current position – because of that, when you turn on the servo, you need to send a control signal to the servo with a position without knowing the actual position. When you do that, the servo will go to the position at full speed. If there is a mass attached to the servo (robot leg or arm), it might easily destroy the small gears inside it, especially if those are made of plastic. For that reason, I try to always define a starting position for a servo-based project and move all joints manually there to avoid any high torques that could destroy the servos when turning on the robot.
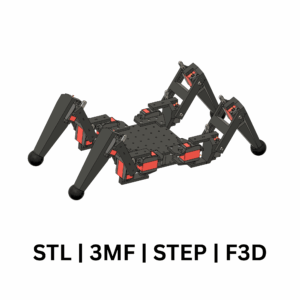
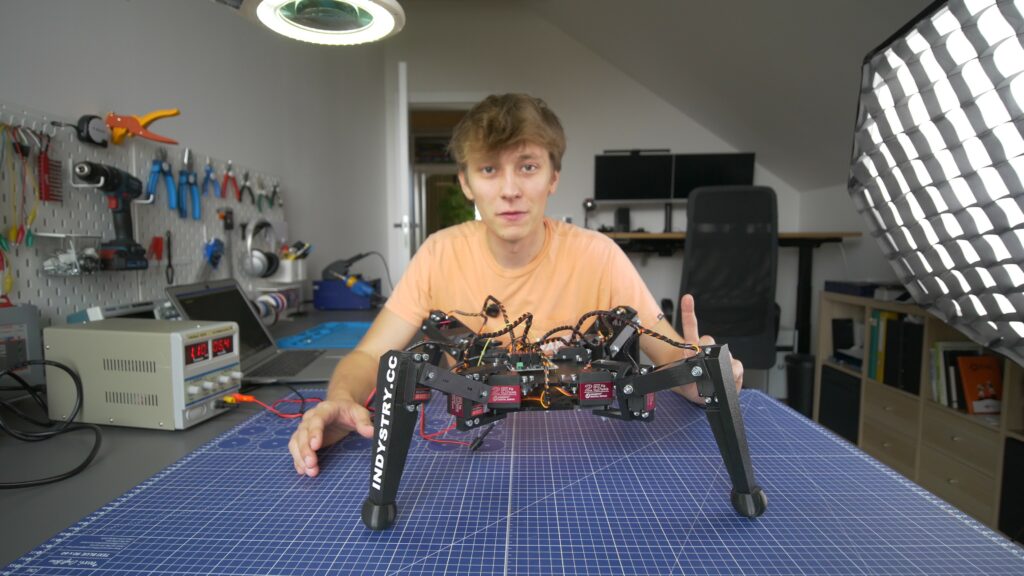
- Weird voltage requirements – I know it makes sense that servos are powered with 5V in the RC world. You connect it to the receiver directly, and there is a BEC (Battery Eliminating Circuit), and everything works great. But in robotics, you will be powering your robot with 2, 3, 4s battery cells, so the max voltage in each case can be 8.4V, 12.6V, or 16.8V. Even 8.4V is already too high for most of the servos. So you need a voltage regulator or a buck circuit to power the servo. And if you use 12 of them as I did in the SpdrBot project, this little circuit will have to handle a lot of current. It makes no sense, lower efficiency, worse performance of the motors, additional source of heat, potential point of failure, and all of that at an additional cost (circuits that handle higher currents and are small enough are quite pricey).
I am not saying never use RC servos in robotics projects, they are perfect for some use cases. I just want to let you know that there are alternatives.
STS3215 – The Servo Dream That I Never Heard About
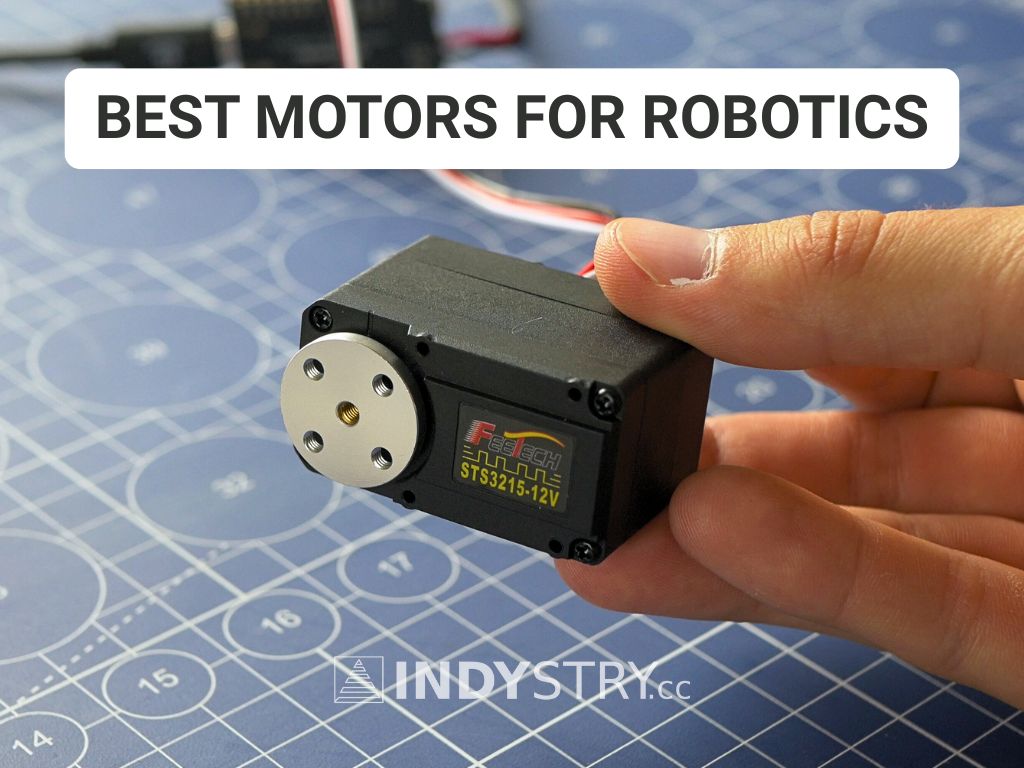
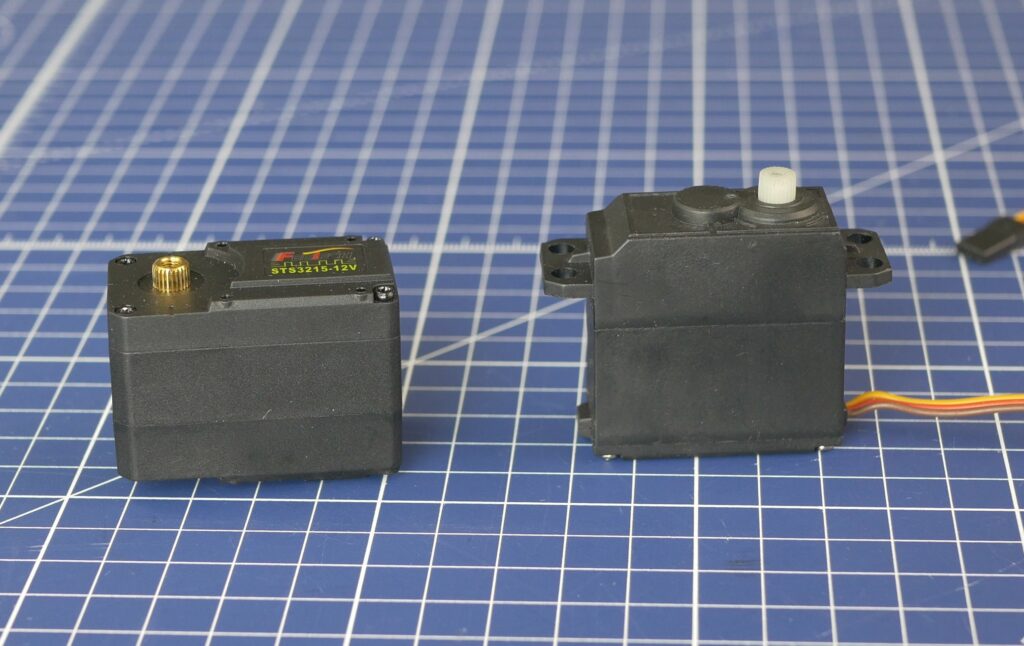
For all the years of working on my projects and facing the same problems with RC servos, I never found a good alternative. In some cases, you can use stepper motors, or you can even just use a DC motor with an encoder. But sometimes you need something small and lightweight, a simple plug-and-play solution. For a long time, I was sure that there was no alternative. Recently, when working on SO-ARM101, I found it. It’s called STS3215.
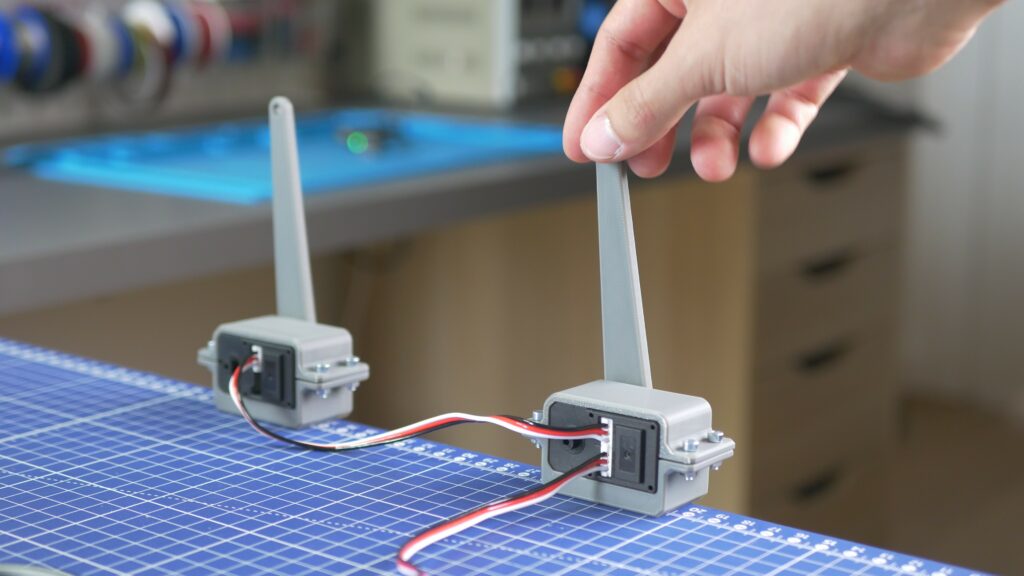
These motors are made by FeeTech, but you can also find them under different brands. There are different versions that work with 7.4V or 12V, and there are 5 or 6 different versions of the internal gearing, which changes the max torque of the motor. These motors can be daisy-chained together, which makes the connection of your robot way easier and cleaner. Each motor gets an ID assigned, and you just send the messages on the bus, and each motor receives the command. Unlike RC servos, they use two-way communication so you can get their current position. They can hold the position after turning them on without changing the position. The built-in encoders return a value between 0-4096 for one full rotation. Internal gearing is made of metal. Each motor includes a cable, some screws, and two servo arm plates. One goes on the shaft of the motor, and the other on the plastic pin on the opposite side of the motor. The second one can be additionally secured with a screw. The only downside is that there is a little bit of backlash on the shaft of the motor, it’s not much worse than standard RC servos, but I just wanted to let you know it’s there.
In the table below, you can find all the different versions of these motors with code and specifications.
| Model Code | Voltage | Stall Torque | Rated Torque | Gear Ratio |
|---|---|---|---|---|
| STS3215-C046 | 4 – 7.4V | 14.4 kg·cm | 4.8 kg·cm | 1:147 |
| STS3215-C001 | 5 – 8.4V | 19.5 kg·cm | 5 kg·cm | 1:345 |
| STS3215-C044 | 5 – 8.4V | 27.4 kg·cm | 9 kg·cm | 1:191 |
| STS3215-C047 | 4 – 14 V | 30 kg·cm | 10 kg·cm | 1:345 |
Where To Buy STS3215 Servo Motors
Thanks to the LeRobot project and the SO-ARM101, these motors are getting quite popular. You can buy them in most places where you buy your regular maker equipment. I will give you links to various sources below. Just a note, if you want to work on the SO-ARM101 project, it makes a lot more sense to just buy a kit like this one with all the parts (motors, control boards, power supplies, and cables) instead of buying everything separately.
| Store | Link |
|---|---|
| STS3215 – Amazon | Link to buy |
| STS3215 – Aliexpress | Link to buy |
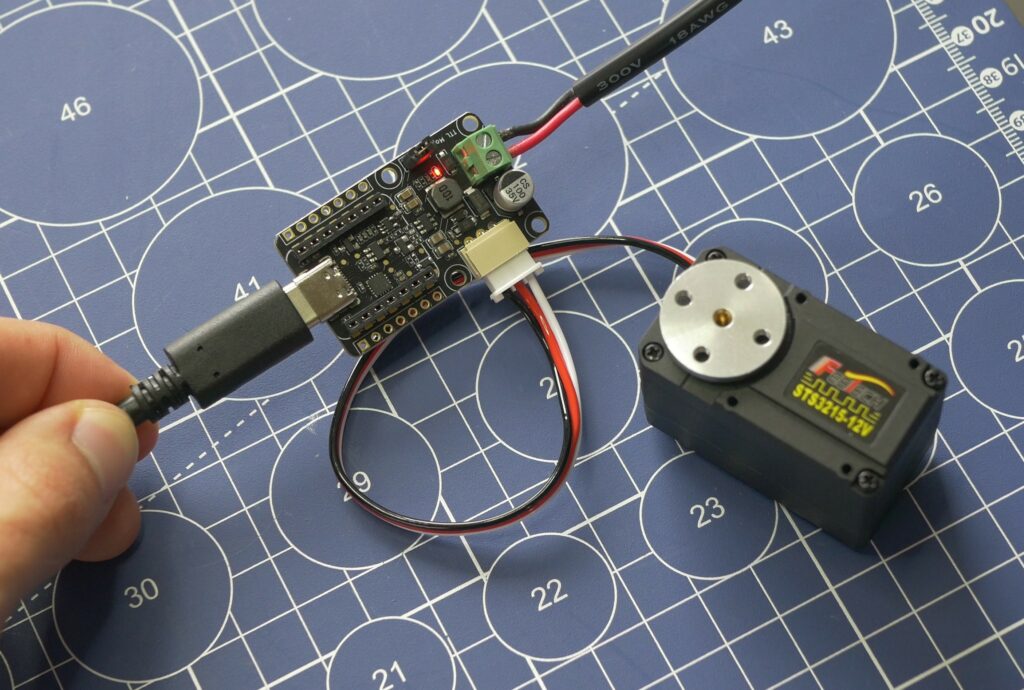
To control this motor, you will also need a controller board. It makes it easy to connect to a computer/Jetson/Raspberry Pi via USB cable and send commands from Python. You can also connect a microcontroller to the board via pins and control the motors that way. As far as I know, there is no way (or there is no easy way) to connect the motor directly to the Arduino/Pi Pico without any additional board in between. The controller board is included in the SO-ARM101 kit but is not included with the motor, so make sure to buy it as well. There are a lot of different options and versions.
How to control the motors and my custom Python code
The motors are very easy to control, and there is a Python package that you can install. I created simple custom scripts that change the ID, create a simple sweep test script, and also created a small Python-based GUI (Graphical User Interface) app so that you can quickly test the motors, get them working, and prepare for your new project. The code was based on the examples from the Python package. You can find more info here: https://pypi.org/project/vassar-feetech-servo-sdk/
To run these scripts, you need to install the package with pip and this command:
pip install vassar-feetech-servo-sdkThen you can download this ZIP archive with all my scripts.
Here is a simple example of the code:
import time
from vassar_feetech_servo_sdk import ServoController

controller = ServoController(servo_ids=[1], servo_type="sts")  # change to "hls" if needed
controller.connect()

positions = [0, 4096]  # Sweep range
speed = 20
acceleration = 150
tolerance = 10  # How close the servo must be to consider it "reached"

try:
    target_index = 0
    while True:
        target_position = positions[target_index]
        controller.write_position({1: target_position}, speed=speed, acceleration=acceleration)

        while True:
            current_position = controller.read_position(1)
            print(f"Current Position: {current_position}")
            if abs(current_position - target_position) <= tolerance:
                break
            time.sleep(0.05)

        # Switch to the other target
        target_index = 1 - target_index

except KeyboardInterrupt:
    controller.disconnect()
And here is the GUI app and the motor control.

If you enjoyed this, you can also take a look at my YouTube video about SO-ARM101, a robotic arm that uses the LeRobot project, VLAs (Vision Language Action models), and AI to perform tasks autonomously. This arm uses STS3215 motors for both the leader and the follower arm (12 servos in total). This arm is an open-source project, and it’s a great way to start working on and learning about advanced robotics projects.
If you want to build some of my robots or support my work, you can check out products in my store and on my Patreon as well. Thank you very much!